


My renovation: How we created a fun, yet grown-up bathroom for our two growing daughters
In part 3 of Sophie's home renovation series, she reveals how she created a vibrant, fun bathroom space for her daughters Lily and Ada that will last for years to come


Why did you decide to renovate the bathroom?
We had paint peeling off the walls, the space was damp and cold during the winter, and the overall aesthetic was really dull, grey and drab. The shower was broken and the towel radiator didn’t emit enough heat. Plus, it wasn’t very kid-friendly for both my daughters Ada (9) and Lily (4), with little storage.


What was the overall vision for the design?
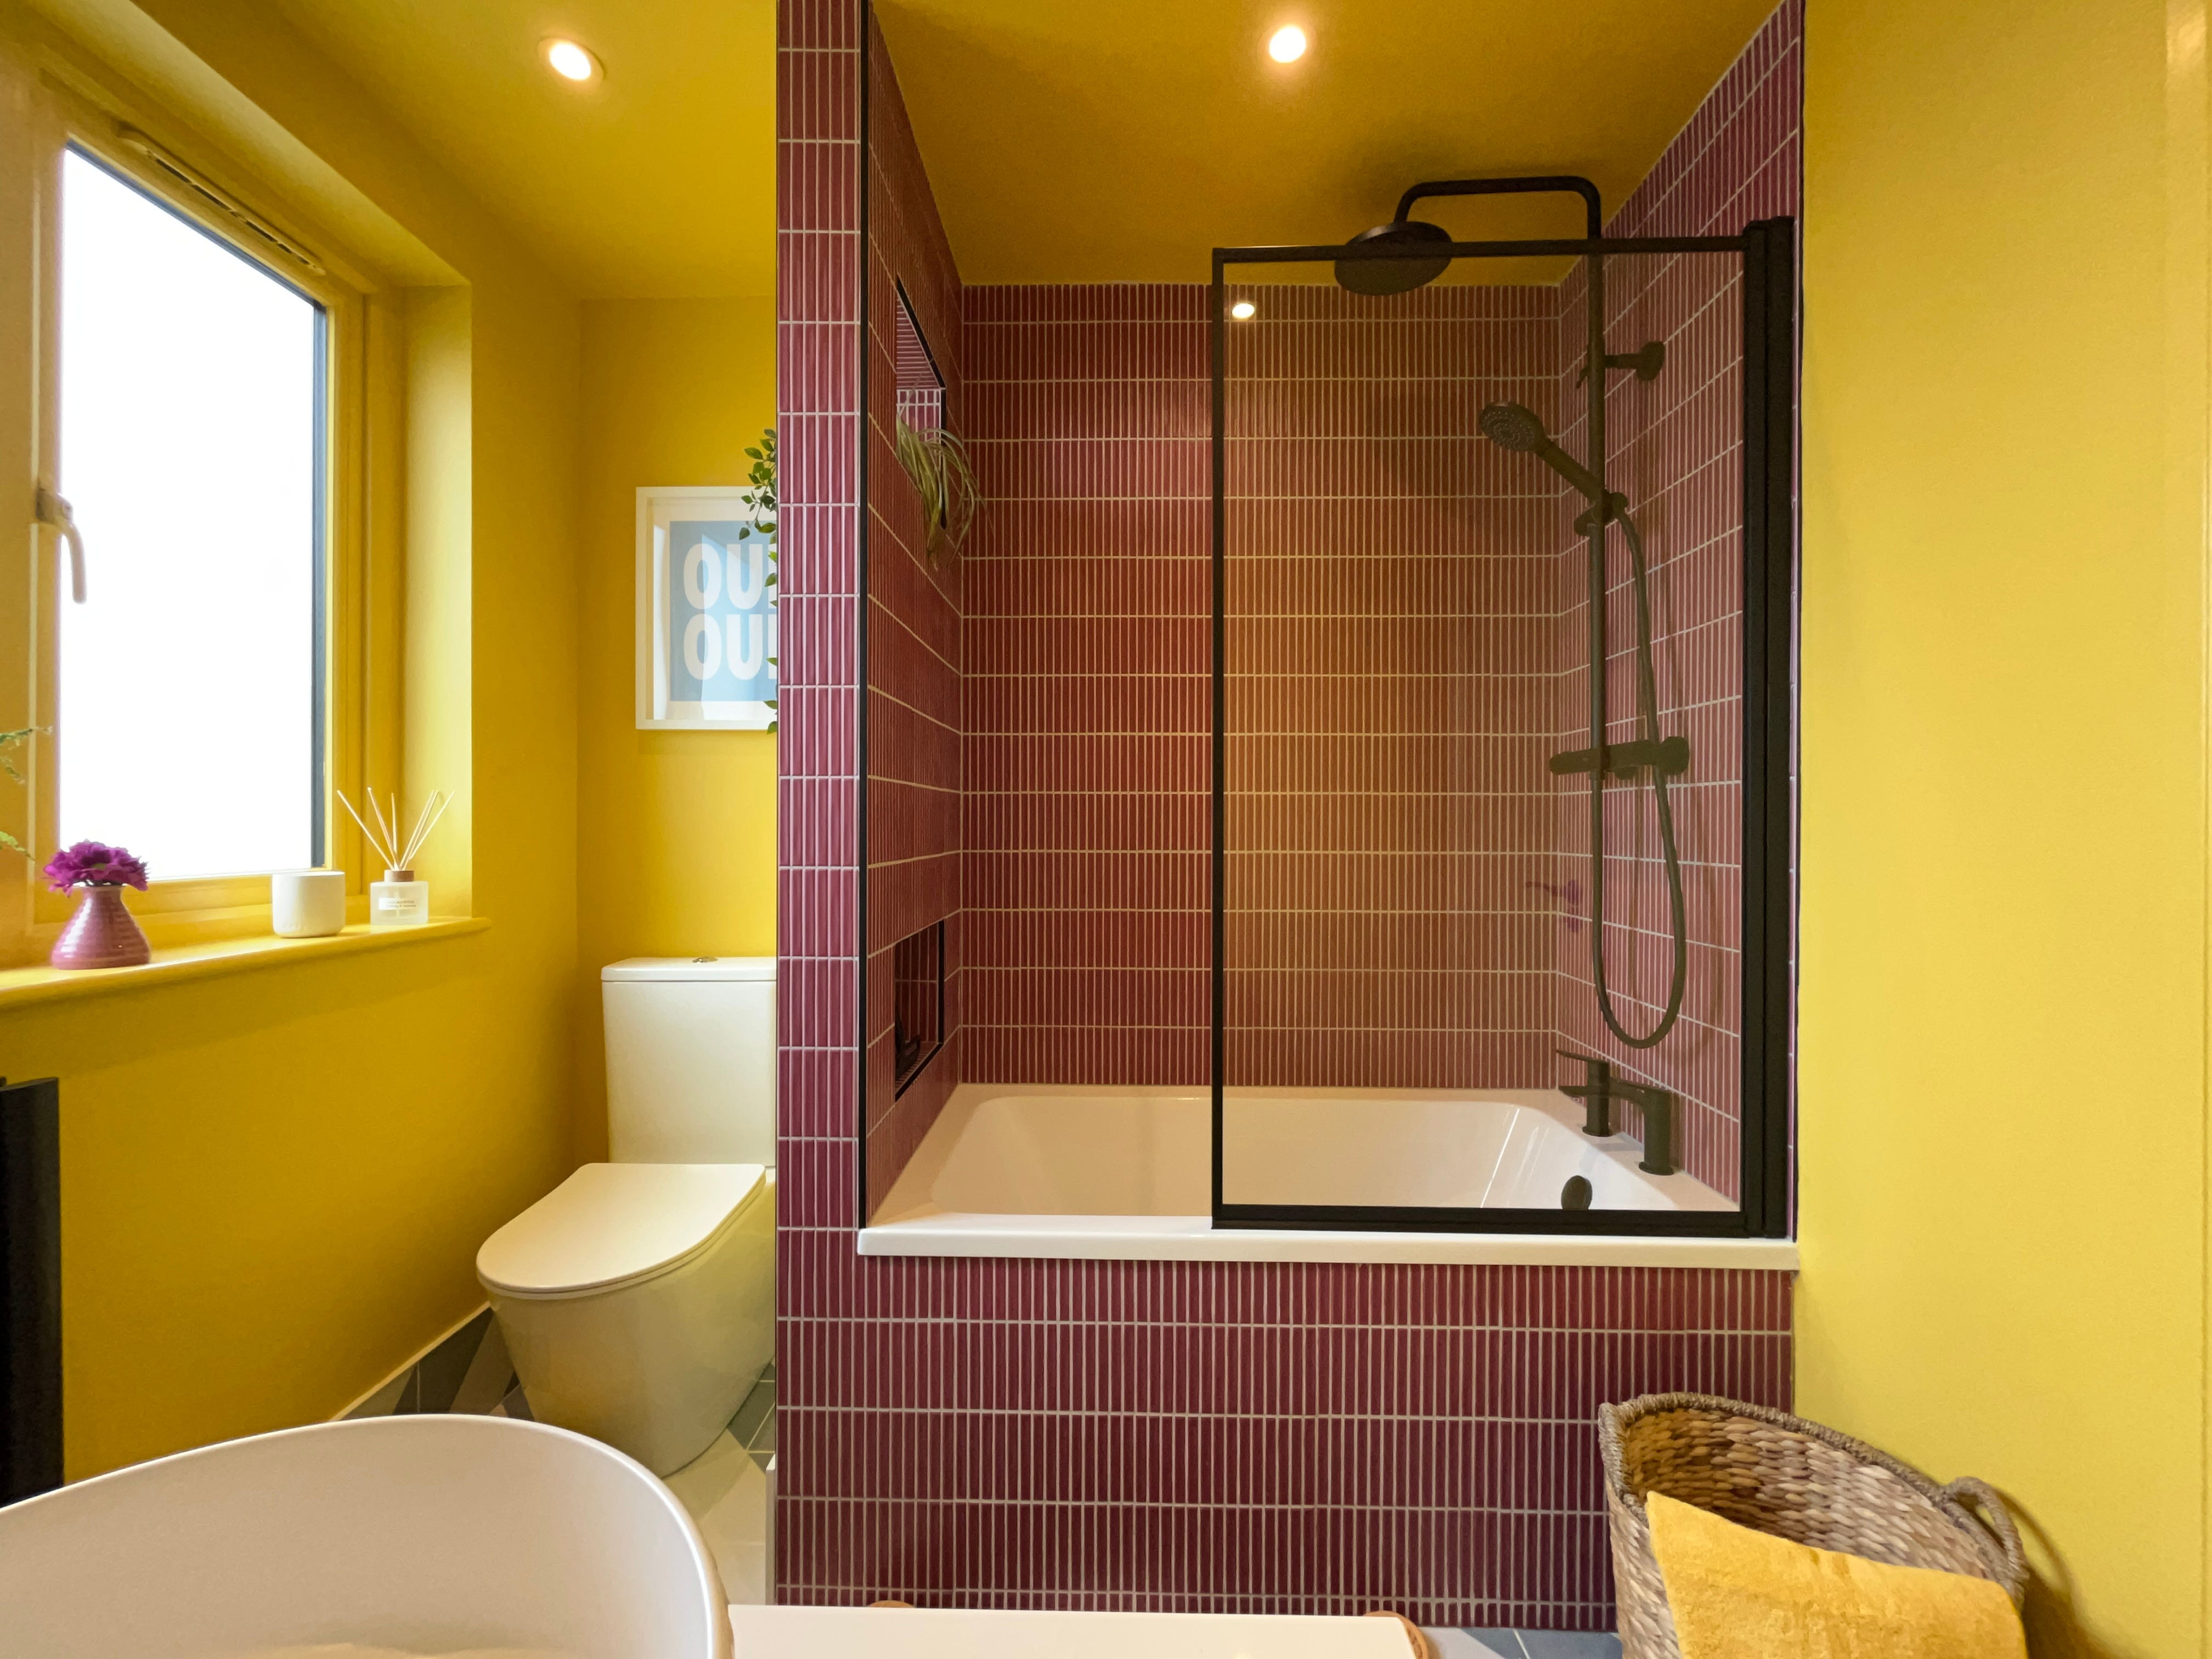
We wanted to create a fun bathroom space for the kids as it’s going to be used primarily by them – hence the bright colour scheme. But it’ll also be used by family and friends when they stay overnight – so we needed the space to be suitable for grown-ups, too – hence the black fittings and fixtures including the shower screen, shower, tap, toilet roll holder and mirror. What’s more, we don’t plan on redoing it anytime soon, so we wanted to make sure that the design was fun but not too ‘young’ as we didn’t want it to date and become impractical as the girls get older.
Can you talk us through the layout and sanitaryware choices?
Because of the existing layout with the WC situated at the end of the tub, whenever anyone had a bath their head ended up next to the toilet, which wasn’t the most relaxing! So, in order to create a barrier between the bath and WC, we installed a shorter tub measuring L130mm (standard baths measure L150mm) to create room for our builders to construct a stud wall at the end of the bath. It also meant we could create a niche within the stud wall for the girls’ toiletries. I also instructed our builder to create an open niche at the top of the stud wall to allow natural light to filter through into the new shower zone to avoid the space getting too dark. We tiled the whole of the walls and bath panel using Quorn Stone’s Sundae Cherry stick tiles to add depth and interest and to help define the area. And we chose a light grey grout so as not to distract from the beauty of the Kit Kat tiles.
How did you choose the colour scheme?
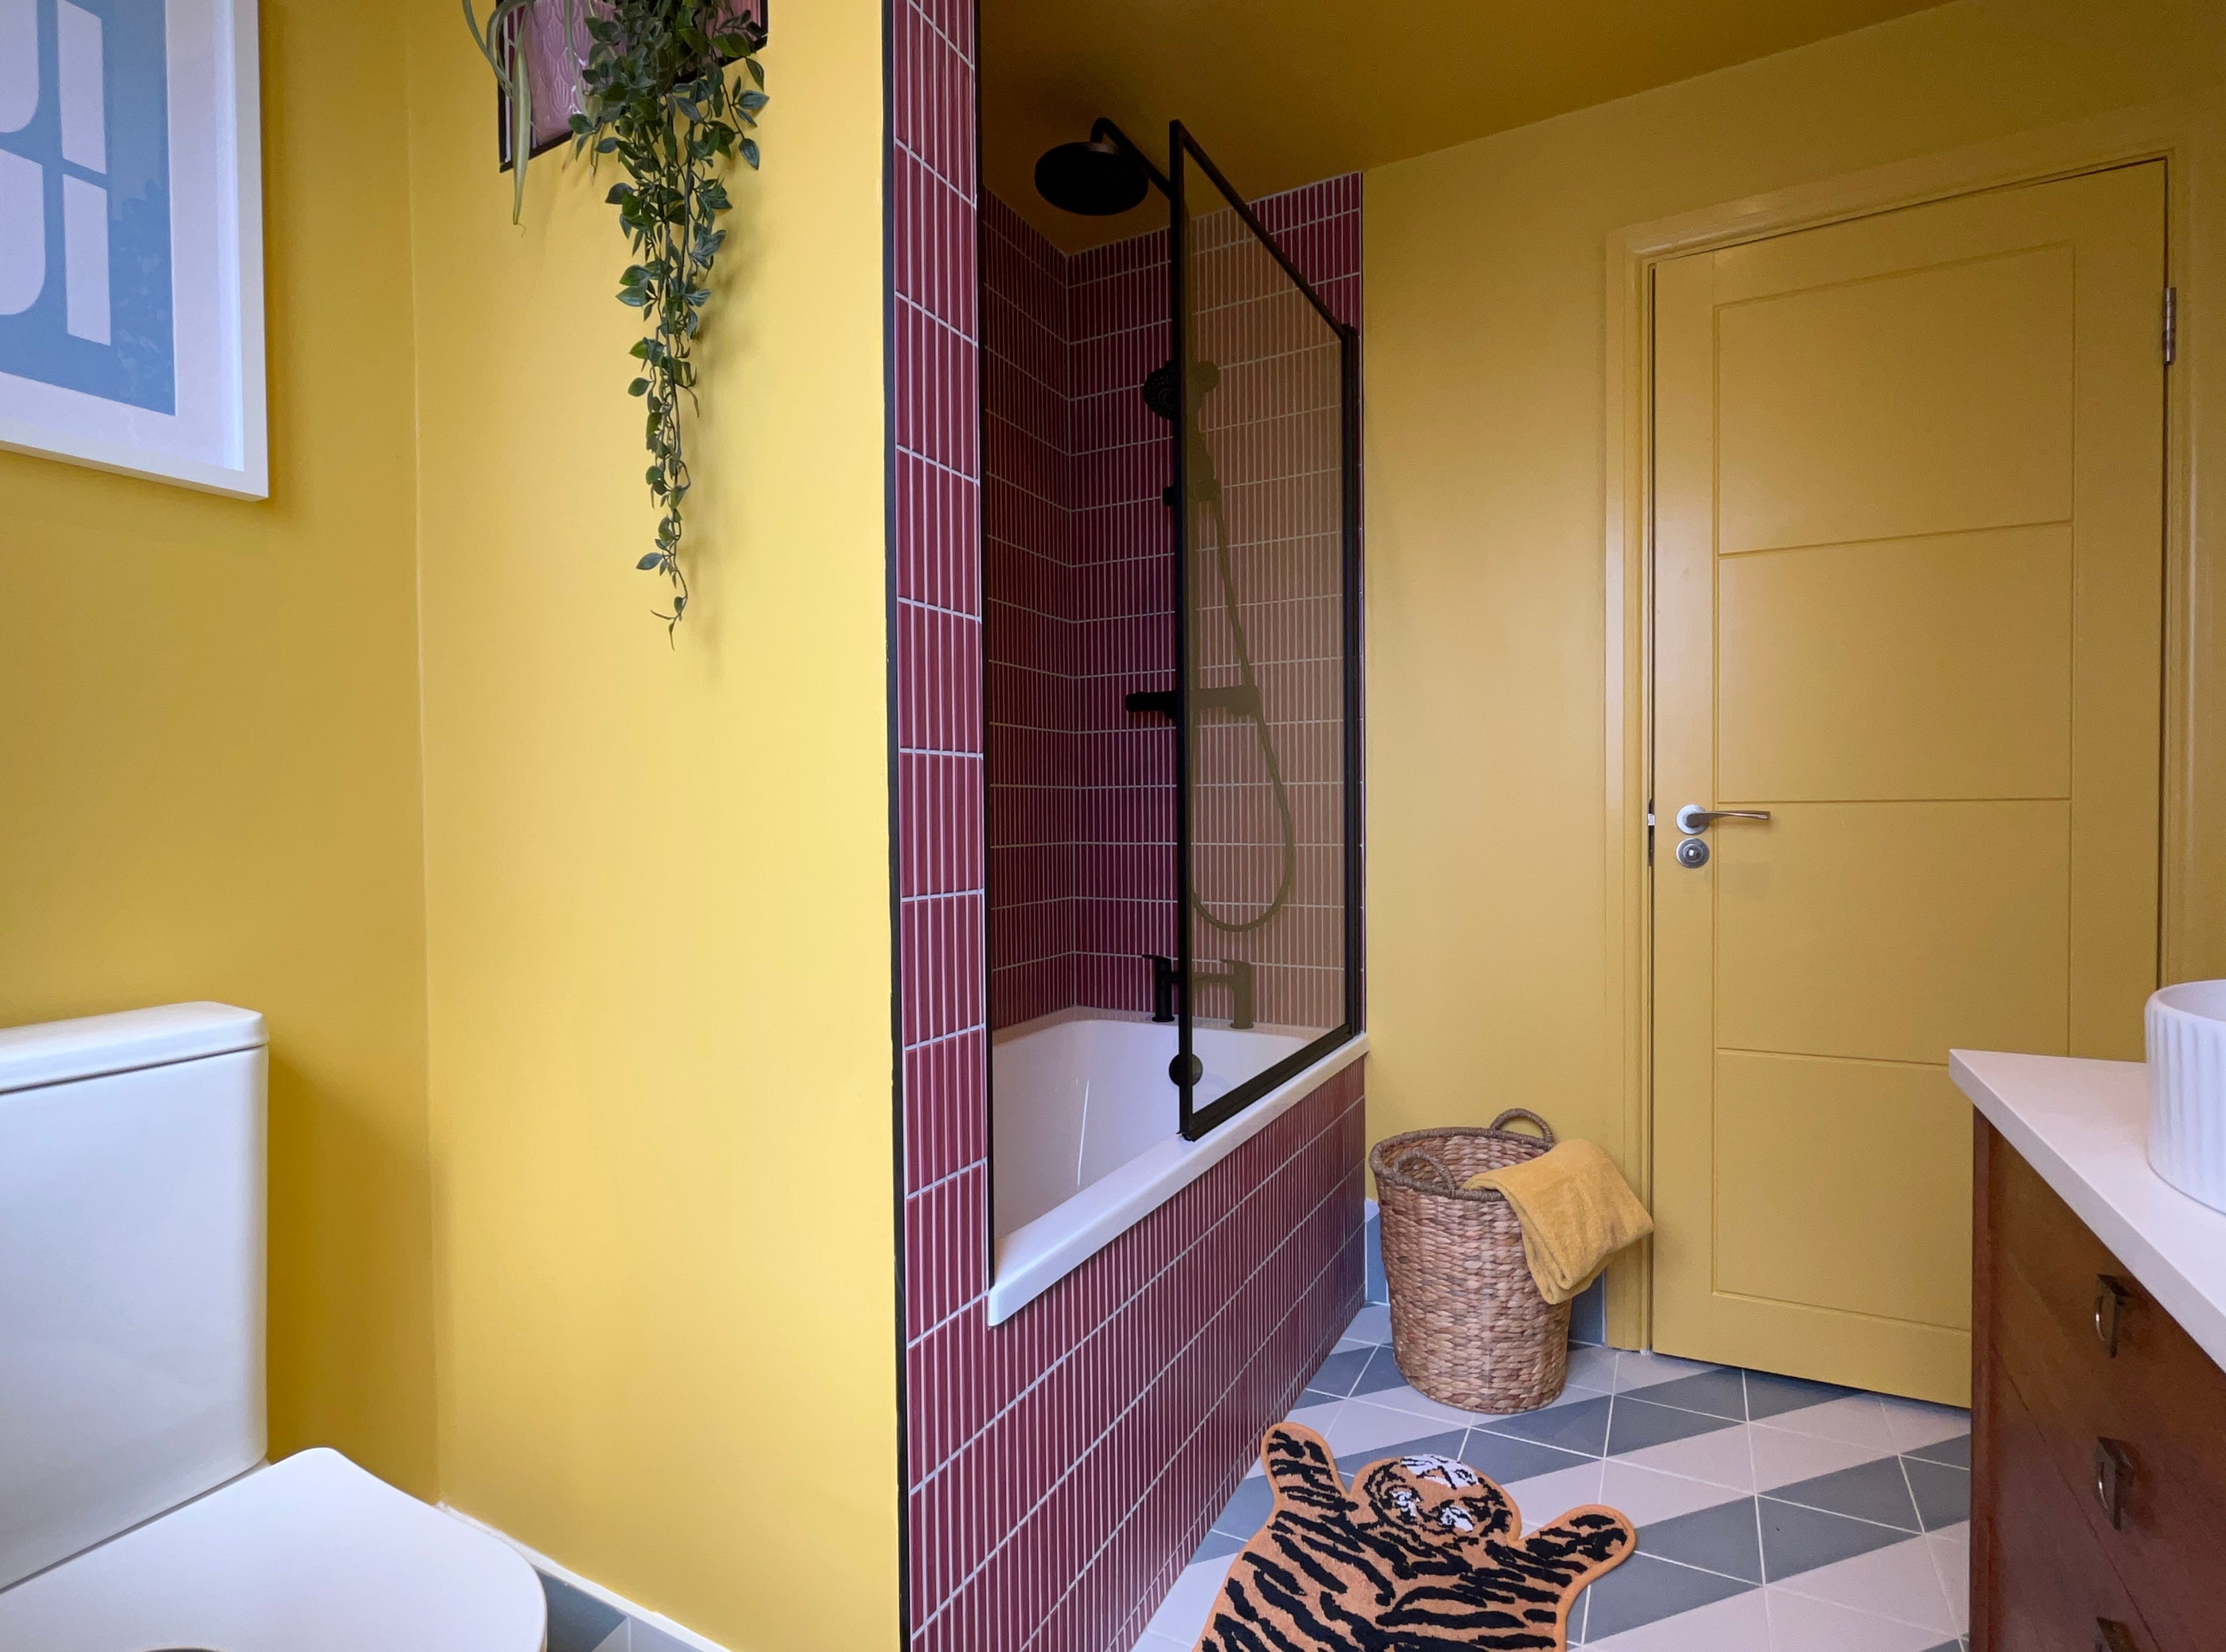
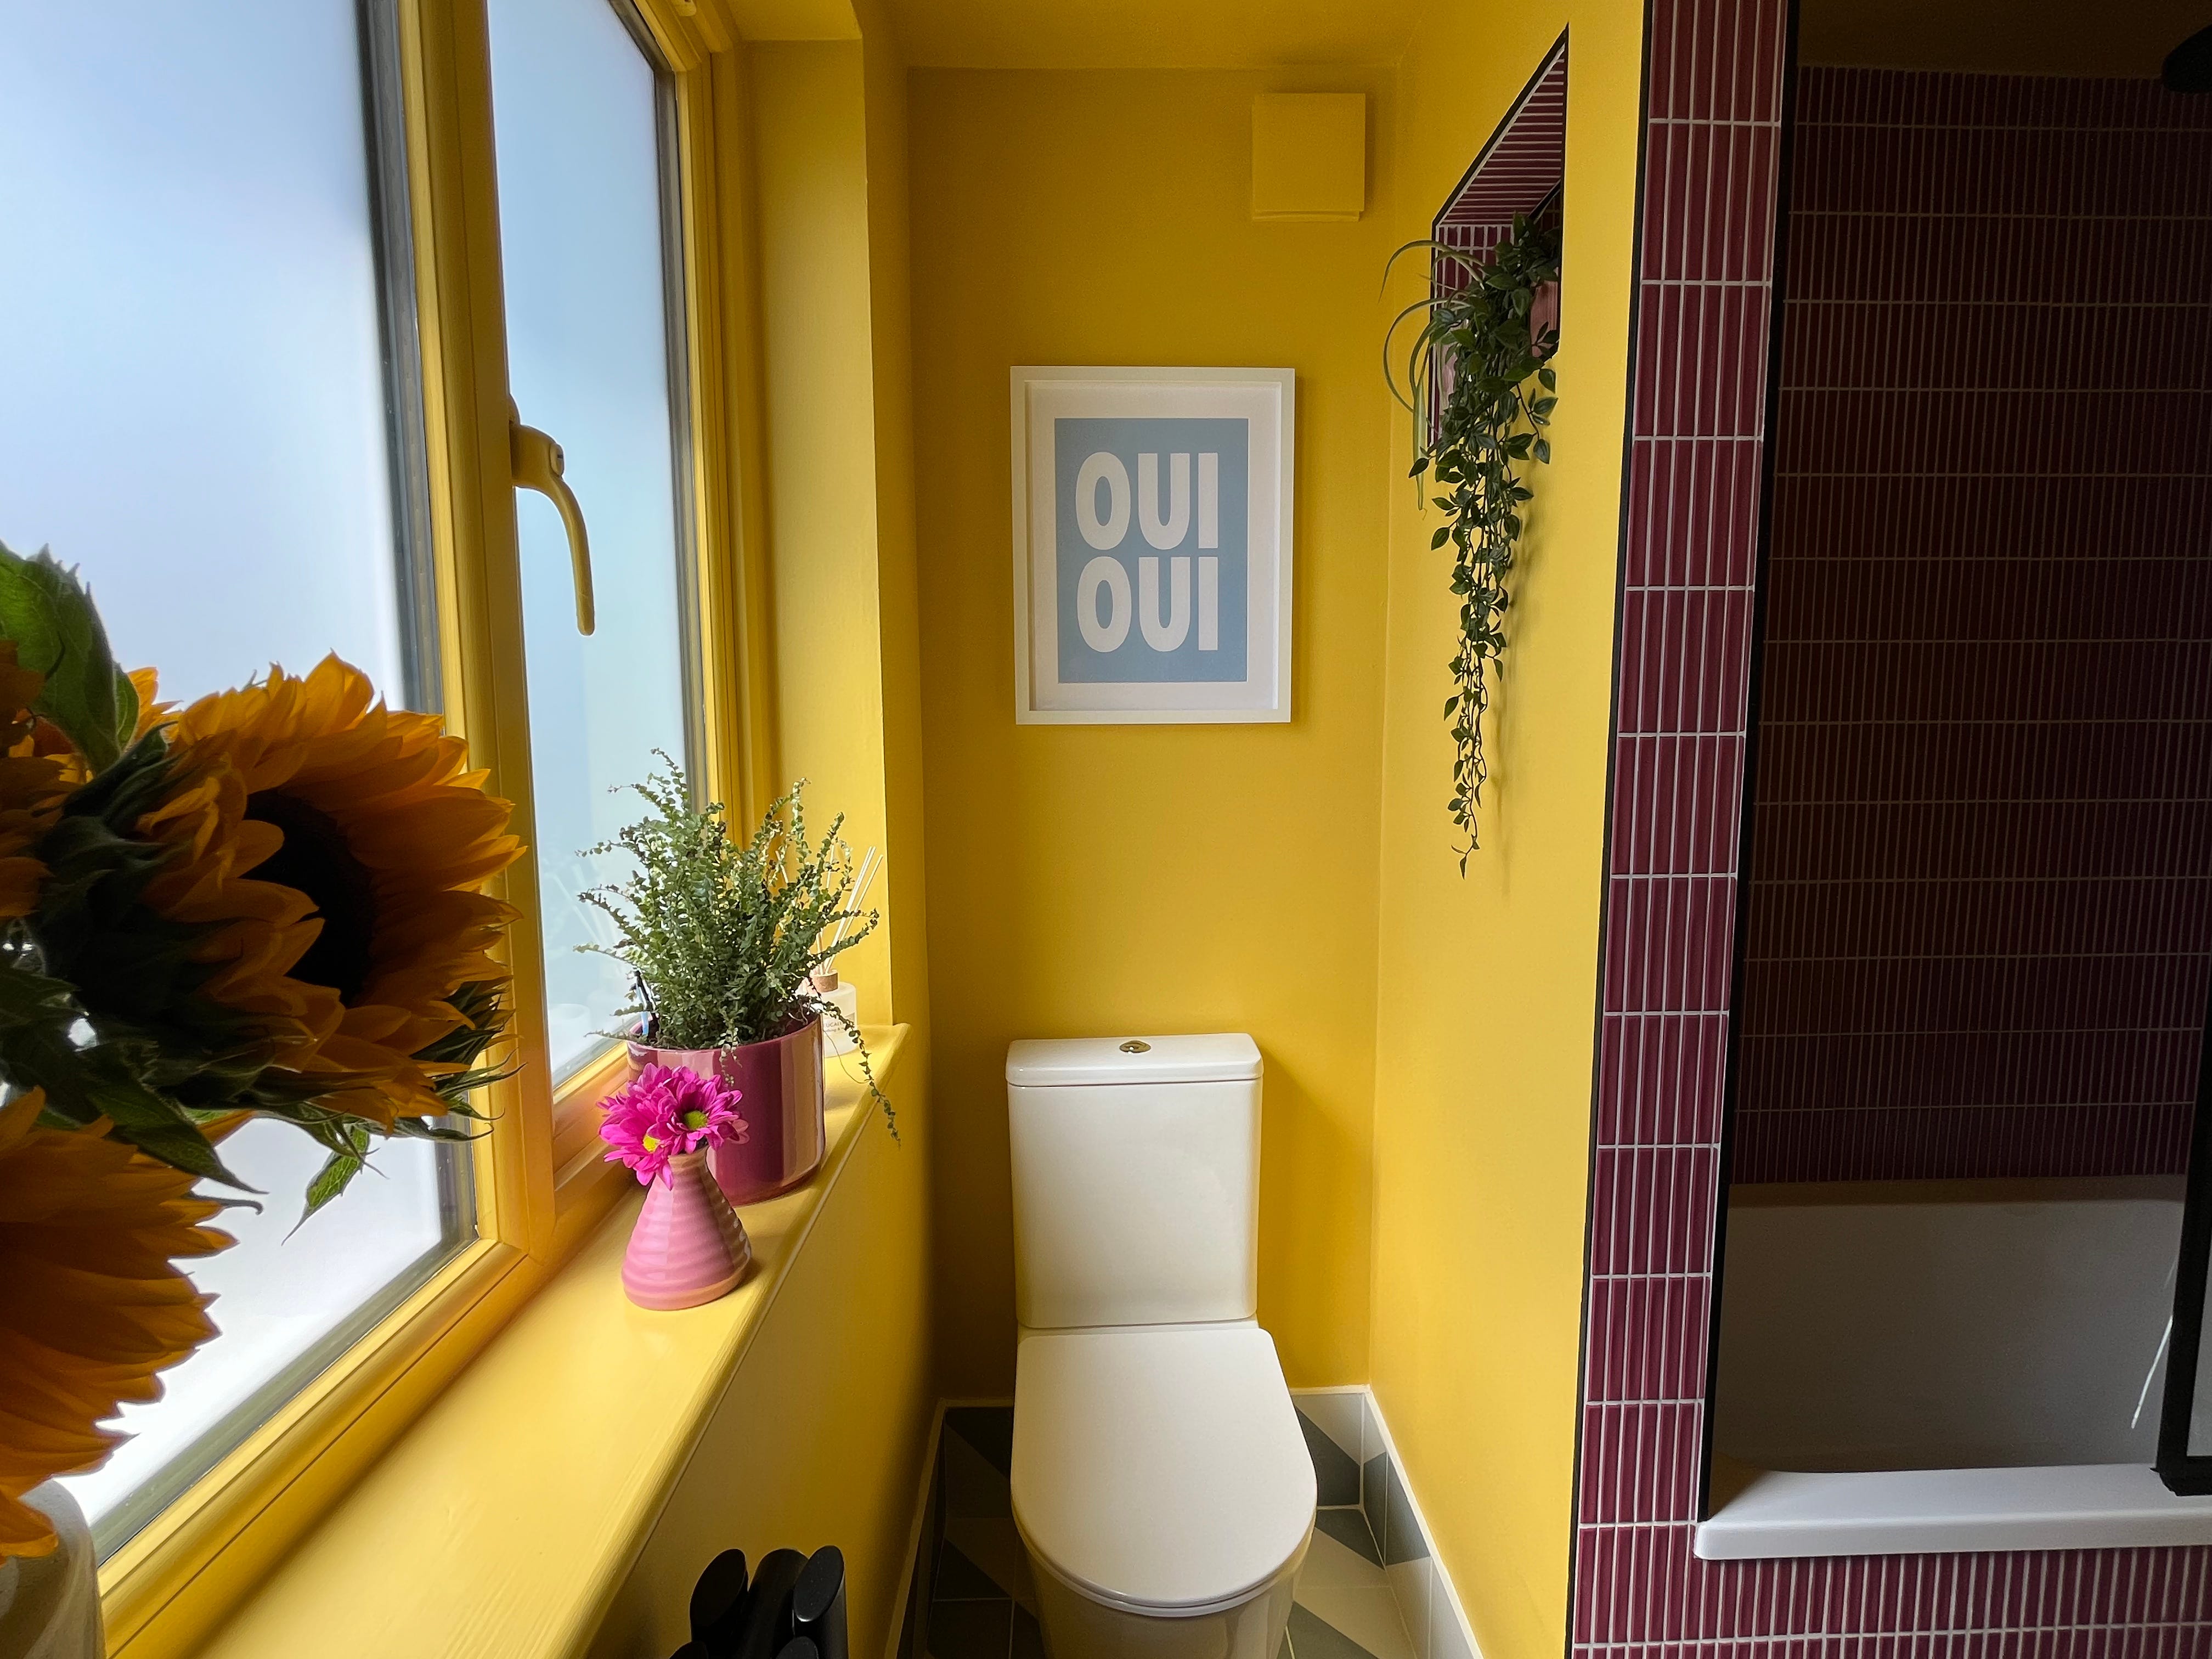
We started off by choosing the tiles. We knew we wanted pink – as both Ada and Lily love that colour – and we wanted pattern to help create a fun space. As soon as the Quorn Stone’s Sundae Cherry stick tile sample arrived, we knew we had to have it. And then we played around placing it next to about 50 other tile samples (I may have over ordered!) in shades of grey, blue, yellow and green – finally landing on Quorn Stone’s Demi Sky Decorative blue floor tile. We decided to lay this tile in a diagonal stripe pattern to create the illusion of a bigger floor space. I then took the tile samples down to the local paint shop to see which colour both the blue and pink tile would work well with. I ended up selecting four different shades of yellow which we hung samples of up on the bathroom walls for a couple of weeks to decide which worked best. Finally selecting Farrow & Ball’s Babouche. We then picked accessories and art work to complement the chosen colour scheme – such as the super fun “Oui Oui” wall print and the cute “Wash your paws” tiger print.
Were there any problems?
The location of the stud wall meant we had to move two of our ceiling spotlights. It wasn’t too tricky – we have a good electrician – but we didn’t budget for electrical work or the extra time spent by the builder filling in the holes in the ceiling.

What’s been the best thing about the overhaul?
The room is so much more enjoyable to use. We’ve added lots of colour, art and greenery to create a bright and welcoming space. But we also installed a new radiator from Bestheating.com (with the correct heat output) with lockshield valves rather than thermostatic valves – like we did in the master en suite – so we’re expecting an extra toasty bathroom come winter!
I also love the vanity unit, which is similar to what we’ve installed in the master en suite. Adding warmth to the room, we upcycled a 1950s G-Plan wooden cabinet, transforming it into a bathroom vanity with a quartz worktop and a fluted counter-top basin. We also screwed on a towel rail so that we can hang the bath mat over it to help keep the bathroom neat and tidy. There was lots of prep work involved – sanding and painting on a waterproof lacquer finish – but we love the finished look. Plus it also provides ample storage for toiletries, towels and toilet rolls.
Anything you would have done differently?
The toilet isn’t in the centre of the cubicle area. It didn’t occur to me to ask our plumber whether he could move it slightly to the right. I keep telling myself that it probably would have cost a fortune to make myself feel better about my mistake! TBH, the only reason it’s been bothering me is because I couldn’t work out whether to centre the “Oui Oui”wall art above it or line it up with the WC!
If you’re new to Nest magazine and have missed the first two parts of My renovation series, you can catch up by heading to the posts tab on our home page or click here for my daughter Lily’s bedroom makeover or click here to find out what vital lessons I learned while redoing my master en suite.
As soon as the girls get to an age where they need a little bin next to the loo you’ll be glad the toilet isn’t centred! Off centre is so much more practical