


My renovation: 5 tips I learned so you don’t have to
Part 6: Think you’ve planned everything? Think again. From paint swatch obsession to a surprise kitchen join, here are the lessons I learned during my renovation.

Our family home renovation is nearly complete. Come Monday, we should (fingers crossed) reclaim the ground floor, while the builders turn their attention to the outside decking and pergola. It’s been a journey. Between the endless decisions, surprise hiccups and moments of “what did we get ourselves into?”, I’ve learnt a lot along the way. Now that the dust is (literally) starting to settle, I thought I’d share some of the key lessons I picked up, along with a few mistakes I wish someone had warned me about. Hopefully, this will make the process a little smoother and less overwhelming for anyone thinking of taking on a home reno themselves.
1. Check the fine print!


When we first chose our Quartz worktop from Gemini Worktops it measured within the standard length, and we paid our deposit without a hitch. Later, our carpenter suggested we had room for an extra kitchen cupboard – more storage, great idea, right? Wrong! Because, what we didn’t realise was that this small addition pushed the worktop length over the maximum limit for a single slab, meaning it would need to be installed in two pieces with a join. We only found out on installation day, when the fitters arrived with two sections instead of one. I was shocked. However after some investigation, I spotted a note on the order form I’d signed, but nobody flagged it during the measuring process, nor discussed where the join would go. Unfortunately, I didn’t have any recourse. Thankfully, the join isn’t as noticeable as I first feared, but it did take the shine off of what should have been an exciting part of the kitchen reno process. My advice? Always ask about maximum lengths and carefully check all paperwork before signing anything. It was a costly mistake – one I wouldn’t want anyone else to make!
2. Always cross-check with your architect’s drawings
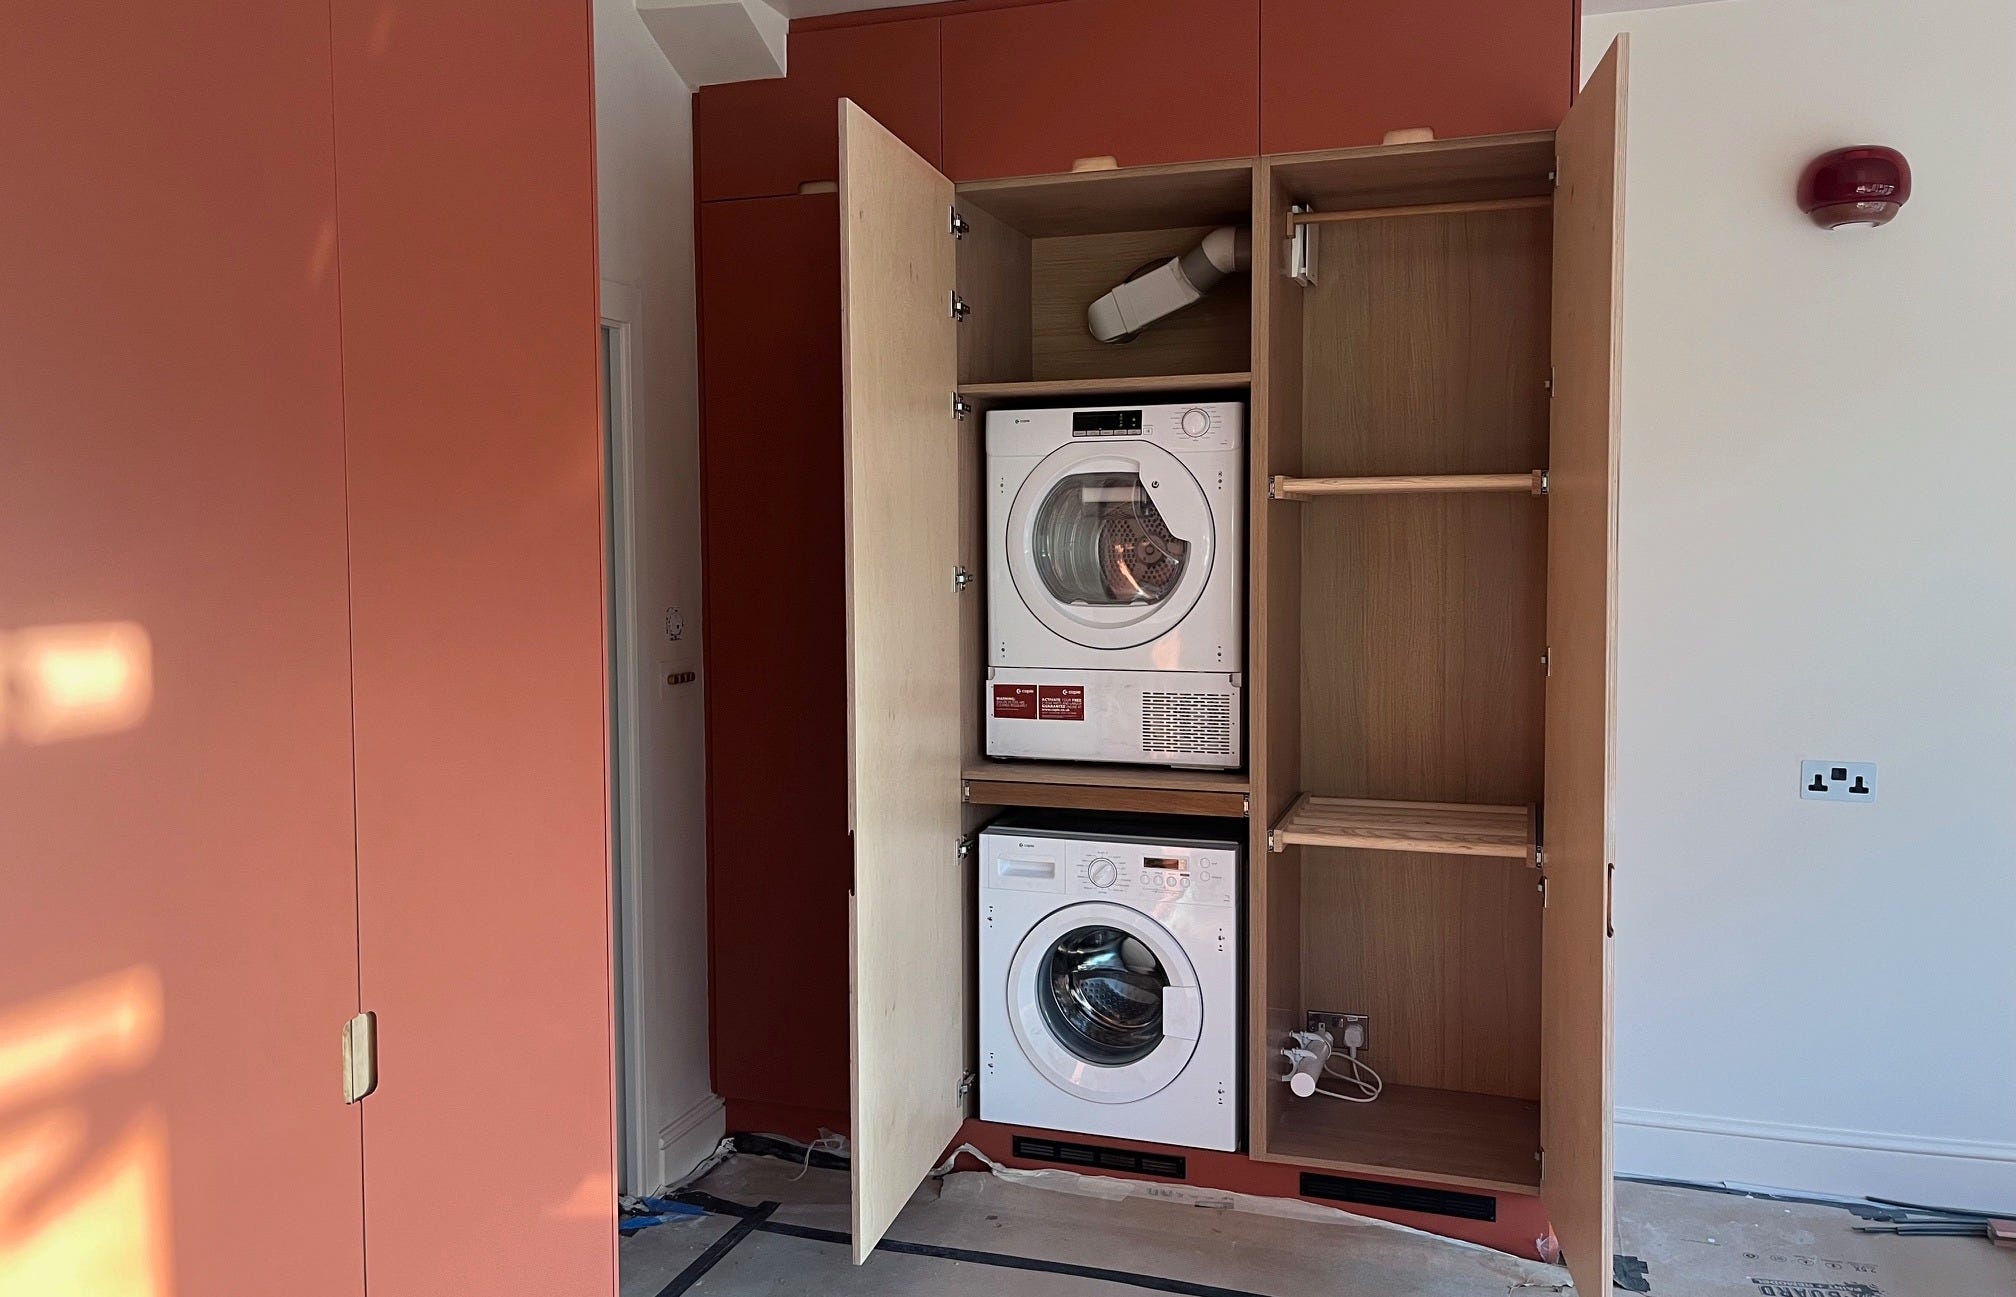
Here’s another kitchen mistake! We’re very lucky to have a bank of utility cupboards in our new kitchen – with a stacked washer and dryer, plus a dedicated drying cupboard. Because we planned to dry clothes in it, we made sure to include proper ventilation – a heater, dehumidifier and an extractor fan. Our architect’s original drawings placed the drying cupboard between the boiler and the washer/dryer. But when our carpenter advised switching the layout – putting the washer/dryer in the middle for structural reasons – we agreed, forgetting that the builders had already cut a hole in the external wall for the extractor fan. The result? The extractor pipe had to be rerouted into the new cupboard layout. While it works perfectly, it looks a bit messy at the top. I toyed with the idea of covering it with oak veneer to match our Howdens units, but at £50 for a small piece, we’re going to improvise with a basket to hide the ducting. The takeaway? Always double-check layout changes against architect’s drawings – especially if anything’s already been built (or cut out of a wall).
3. Don’t leave the finer details to your builders
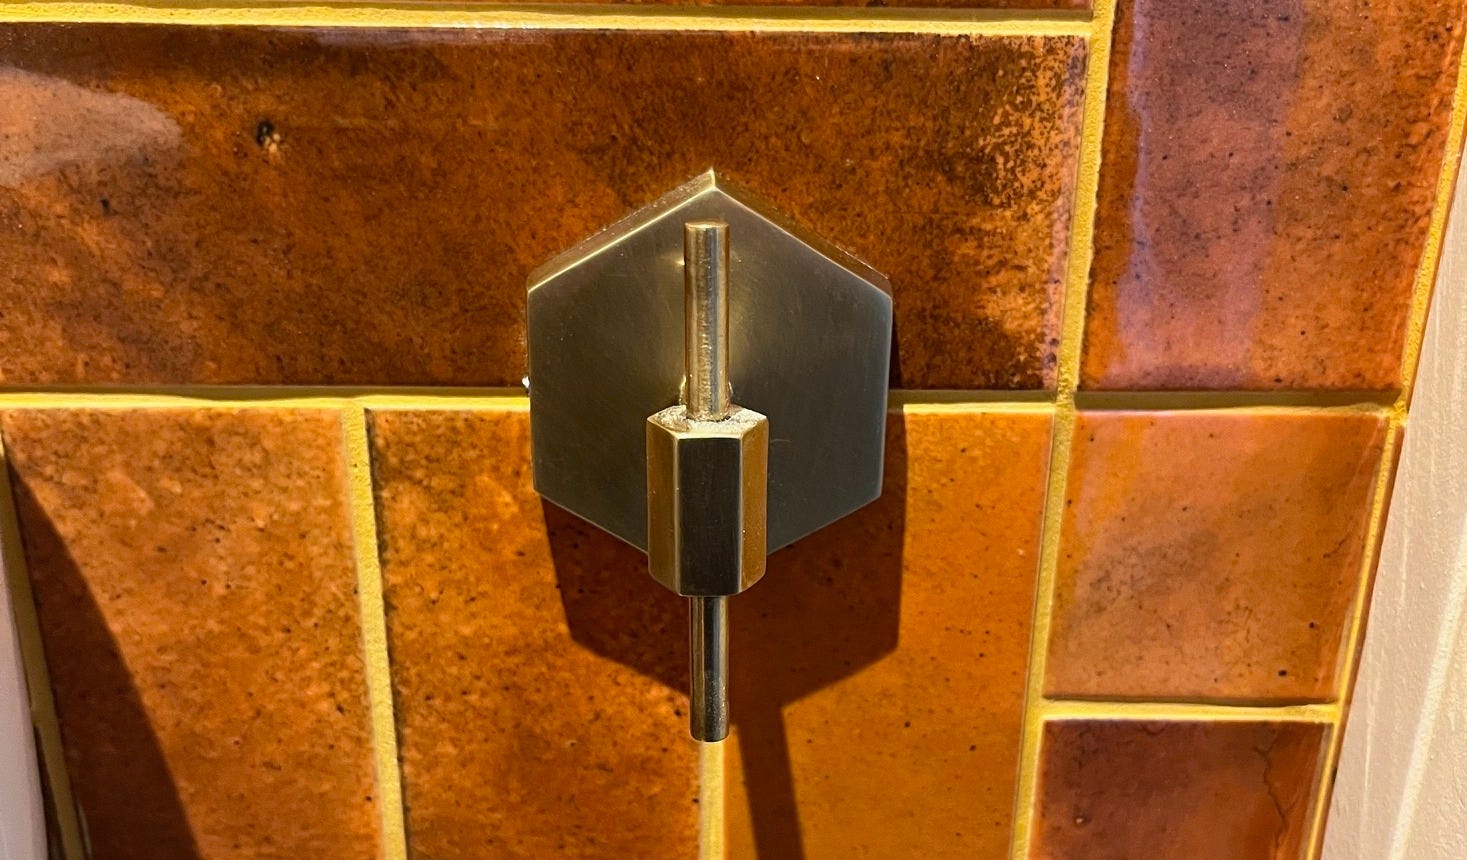
I mean this in the nicest possible way – your builders are there to build, not to make design decisions. When it comes to the finishing touches, don’t leave them to their own devices! For me, it was the downstairs towel hook – wonky by about 1-2mm. Tiny, yes, but I noticed it, and I knew I would see it every single time I used the downstairs loo. Then there was the wall-hung toilet brush. I asked for it be centred and a certain distance off the floor and then I went off to work. They nailed the height, but it’s not centred! Thankfully, I can’t see it from the seat, so I’ve made peace with that one. However, don’t be afraid to speak up. If something bugs you now, it’ll drive you mad later!
4. Spend where it shows, save where it doesn’t
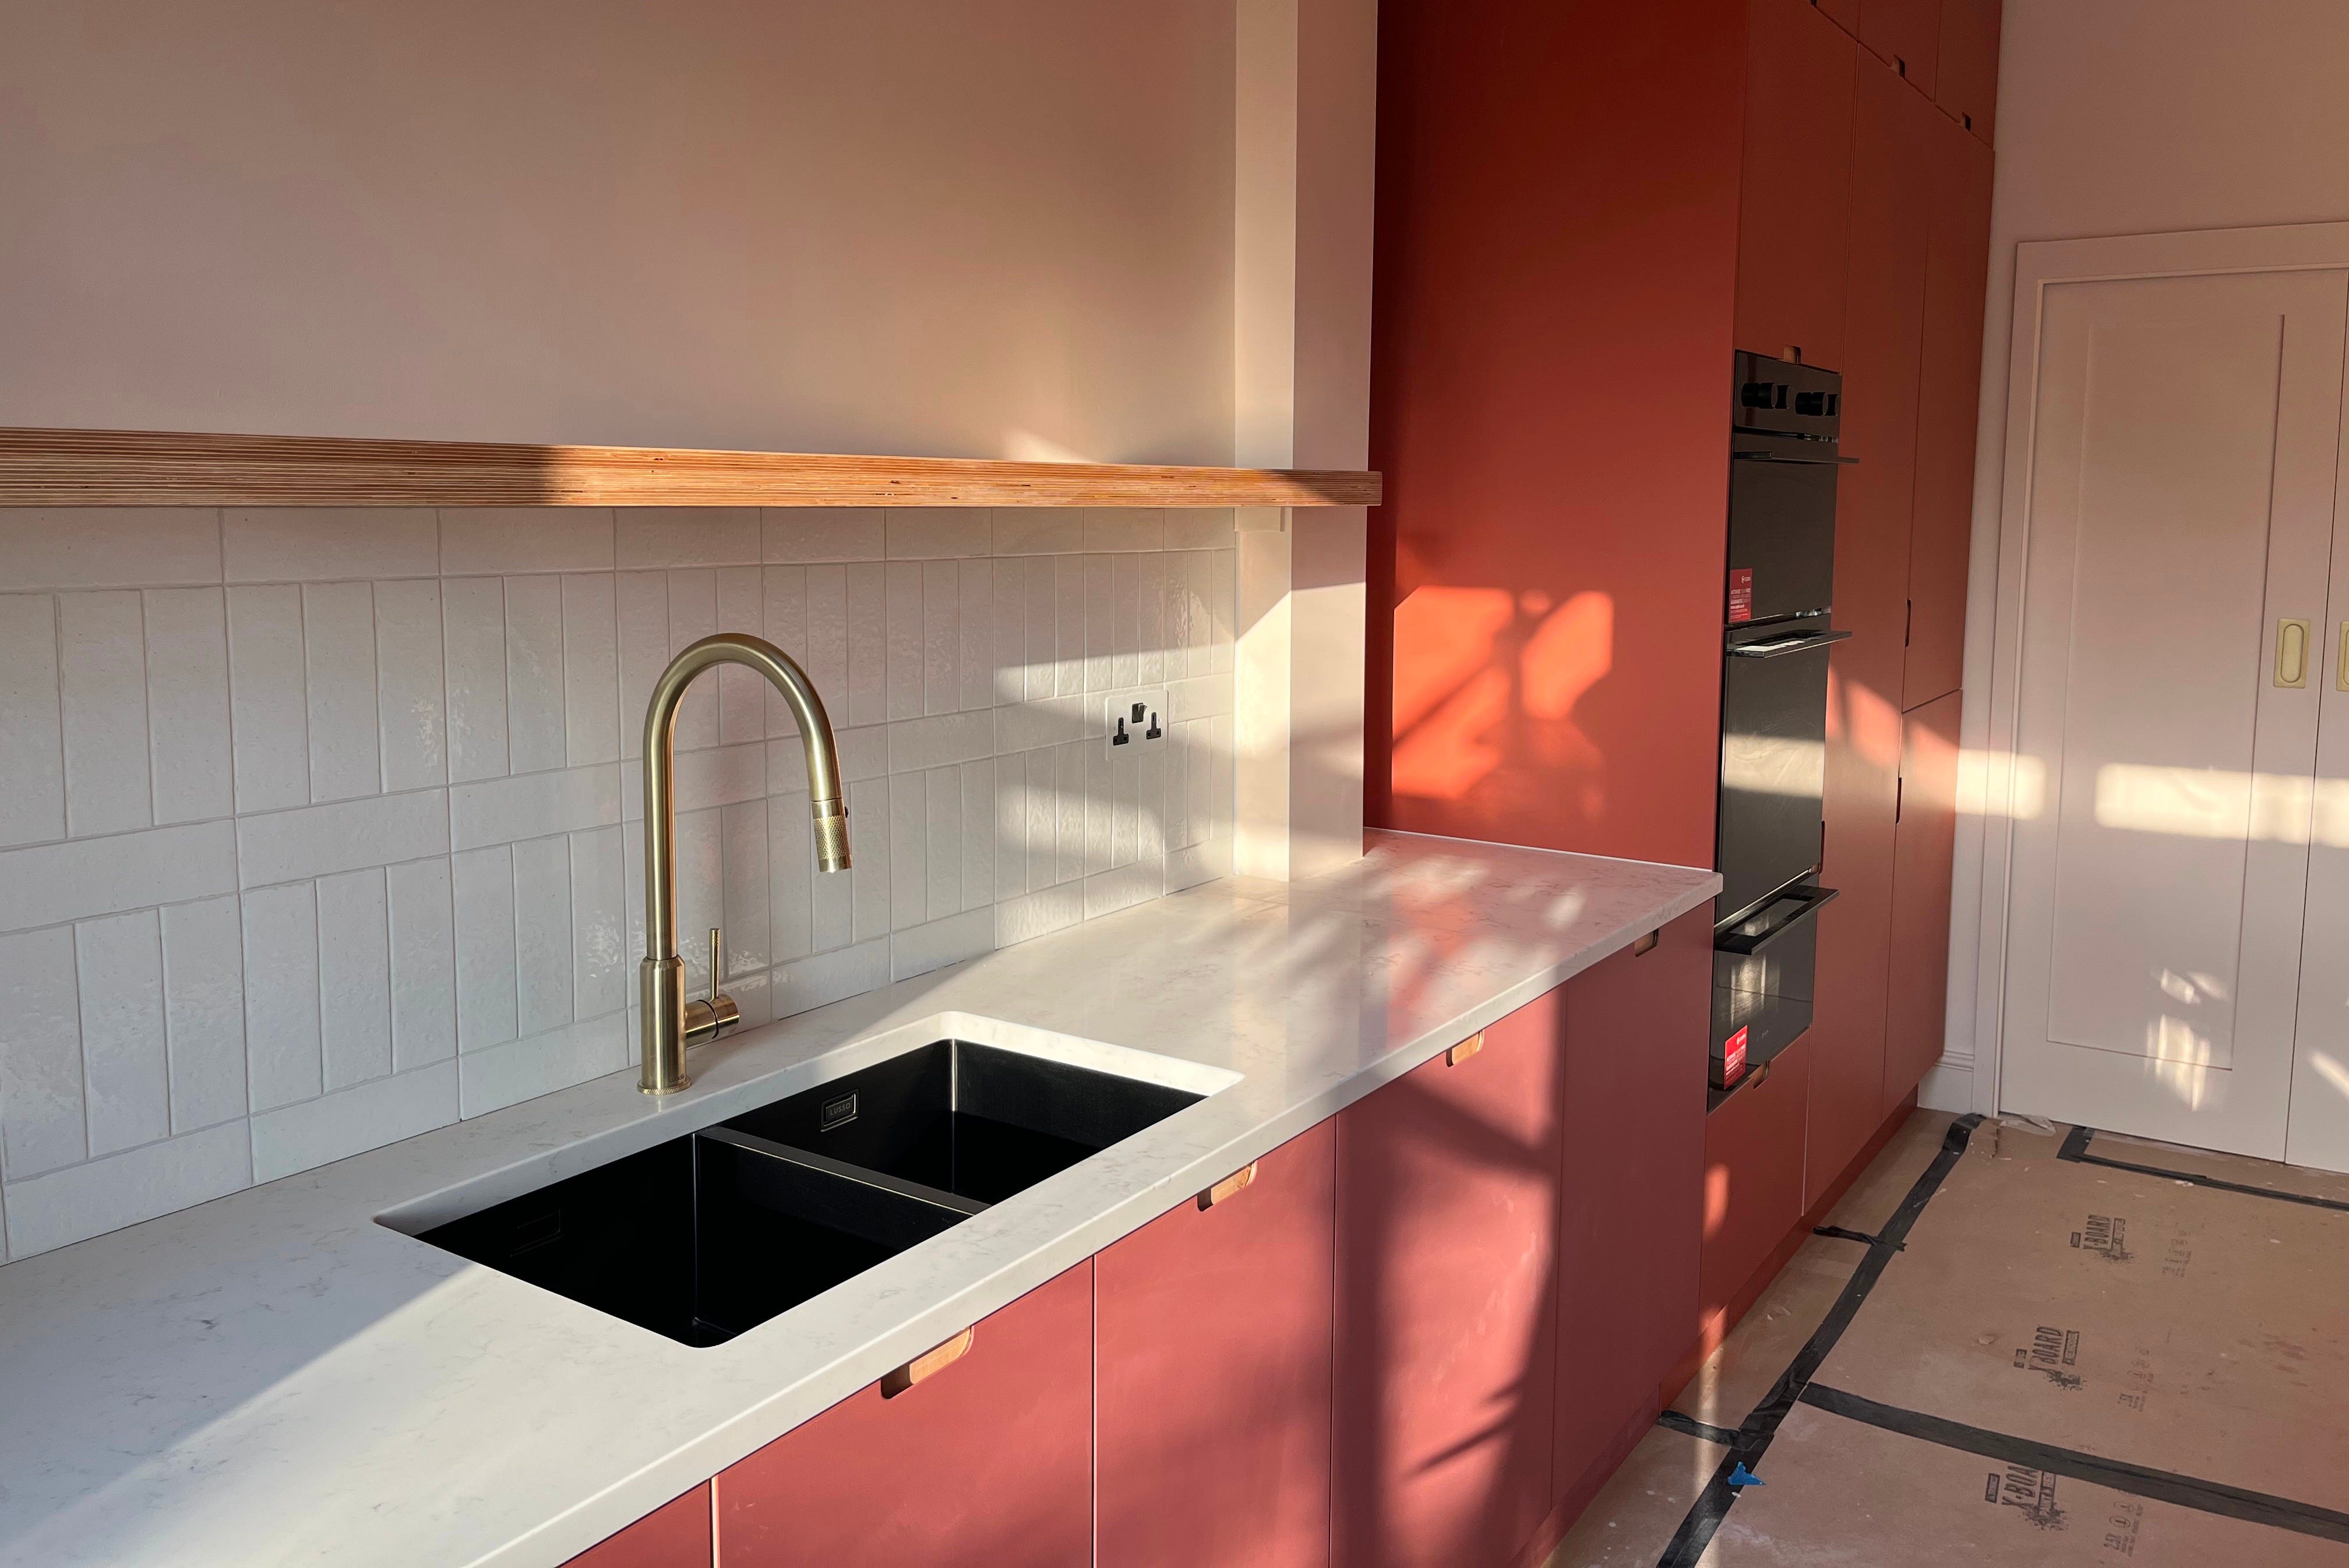
One of the best pieces of advice I received and thankfully followed was to spend money on the things that you’ll see and use every day and save on the bits that stay hidden. For the kitchen, we went with standard Howdens kitchen carcasses, but paired them with bespoke door fronts. The result? A kitchen that looks custom made without the fully bespoke price tag. You open and close cupboard doors every day, they’re worth investing in. The inner carcass? Not so much. No one is complimenting your MDF interior shelf. Prioritise quality where it matters and you’ll get a high-end look without blowing your budget.
5. Don’t leave choosing paint colours until the end
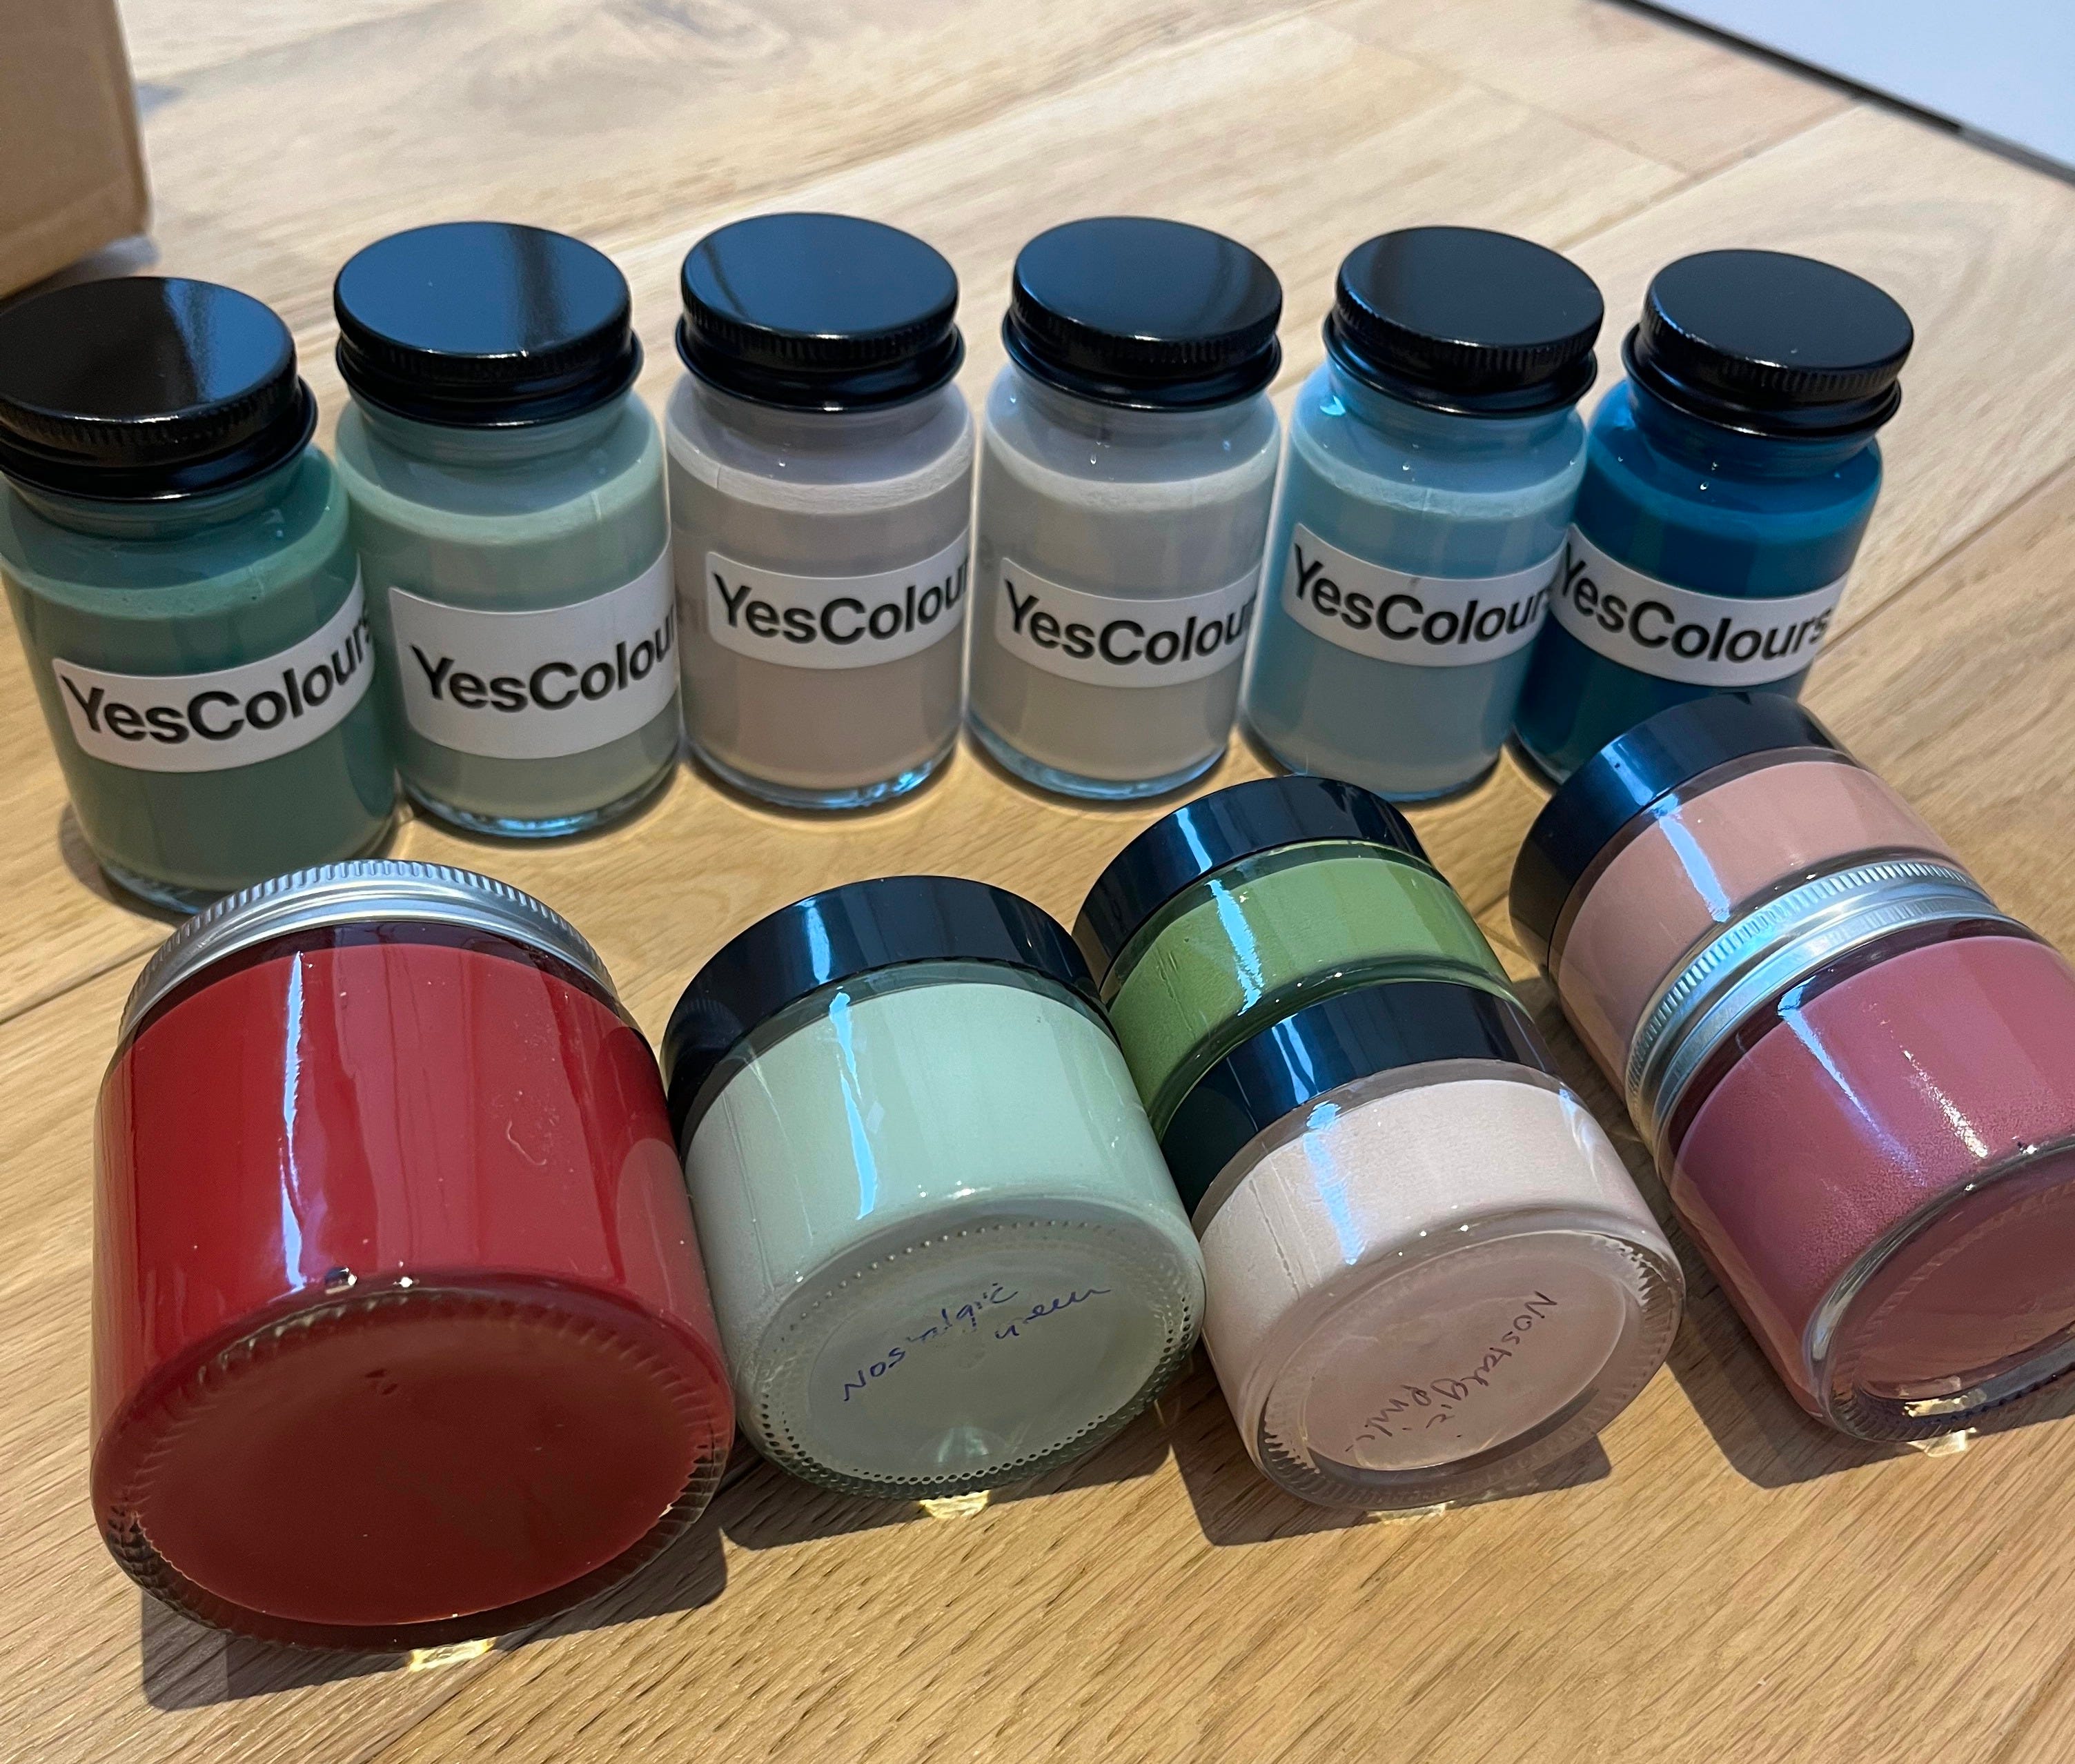
I didn’t leave the fun part of my project – choosing paint colours – to the last minute. Having worked with YesColours before on my daughter Lily’s bedroom, it was a no brainer to return to them. I love the quality of paint and company ethos and, when they launched their stunning new Nostalgic, Iconic and Secluded colour collections at the beginning of the year, I knew they would fit perfectly in my home. I booked a colour consultation with Emily Harnasz – she’s also renovating her home you should check out her Instagram – back in February and then spent at least 3-4 weeks experimenting with the tester pots, moving swatches around the different rooms at different times of the day to see how they would all look. It was time well spent. Our builders have painted the ground floor, and I can’t wait to reveal the colours throughout the house once we’ve moved the furniture back in and finished painting upstairs. Trust me, get your colours sorted early. It makes the whole process feel more exciting, and the end result far more cohesive!
Like what you read? Hit the ❤️ button, share it with anyone who’s thinking of diving into a renovation ♻️, and drop a comment 💬 if you’ve got your own lessons (or horror stories) to share. We’d love to hear how your reno’s going – or what you’d do differently next time.


Feel you on the worktop situation, big time!