Co-editor Sophie’s latest upcycle project – and how to start your own
Looking to get on the upcycling bandwagon? Co-editor Sophie shares her tips on where to source pieces and a step-by-step guide to transforming a stool into a plant stand for her daughter Ada’s bedroom
There’s no doubt about it, upcycling is a great way of adding colour and character to your home, often at a much lower cost of buying brand new. What’s more, it’s better for the planet, too. According to a report by The North London Waste Authority, 22 million pieces of furniture are discarded each year in the UK, the majority of which goes directly to landfill. From reupholstering chairs and giving wooden furniture a refresh to repurposing window frames into picture frames and old door knobs into coat hooks, the possibilities for upcycling are huge.
I’ve always loved the idea of recycling and renovating; I think it’s really special to be able to add your own narrative to a piece of furniture. Now, I’m not saying I’m an expert – I’ve had just as many failed attempts as I have had successes over the years. But one thing I have learnt is to not be too ambitious with your project. Start small, plan out the project, and make sure you have the right kit to get the job done correctly!
The first stage of your upcycling journey needs to start with sourcing an item to revamp. Shop around your own home as you’re bound to have something in it ready to be given a new lease of life. You can also ask friends and family if they have what you’re after or post your requirements on online sites such as Freecycle where people give away free stuff that’s in good condition rather than sending it to landfill. Charity shops, car boot sales and second-hand selling sites such as Vinted, Gumtree and Facebook Market are other avenues to consider, too. More often than not you can find some great bargains if you’re prepared to put in the effort to source them and renovate them!
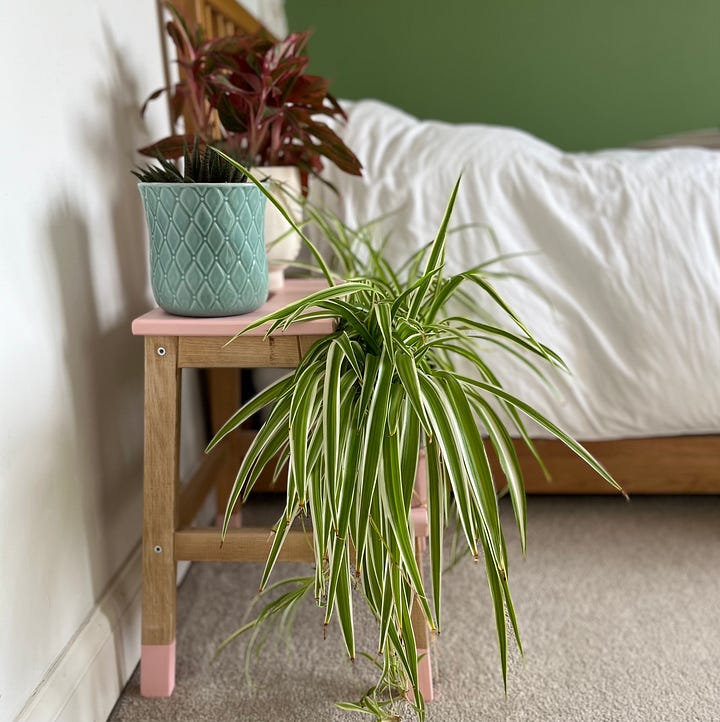
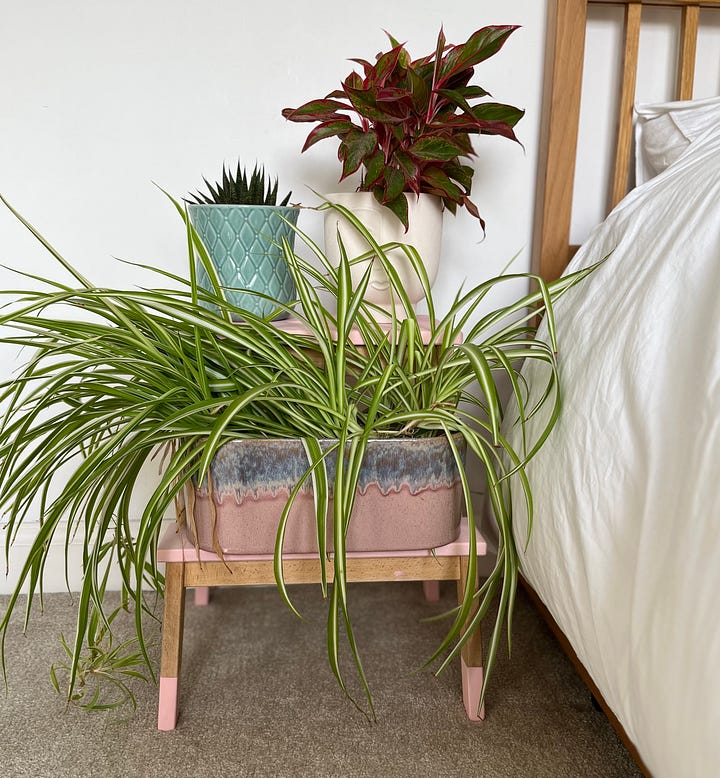
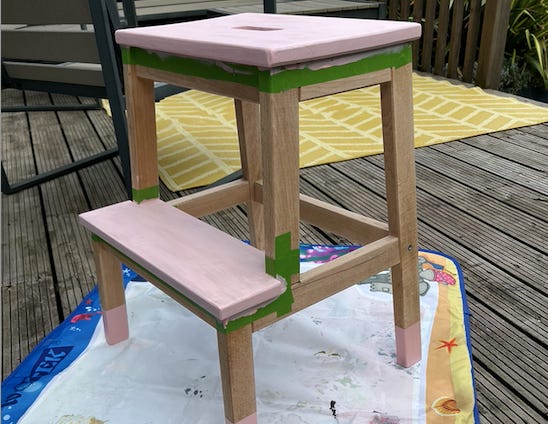
My most recent project is an Ikea Tenhult stool hack (above). It was during the summer holidays when the new residents of the house across the street from us moved into their new home. Now, I don’t know what it’s like where you live but in south London, where I live, it seems common practice to leave unwanted items outside your home with a note on it saying ‘Free to a good home!’ rather than paying for the local council to remove it or taking it to your local refuse centre yourself.
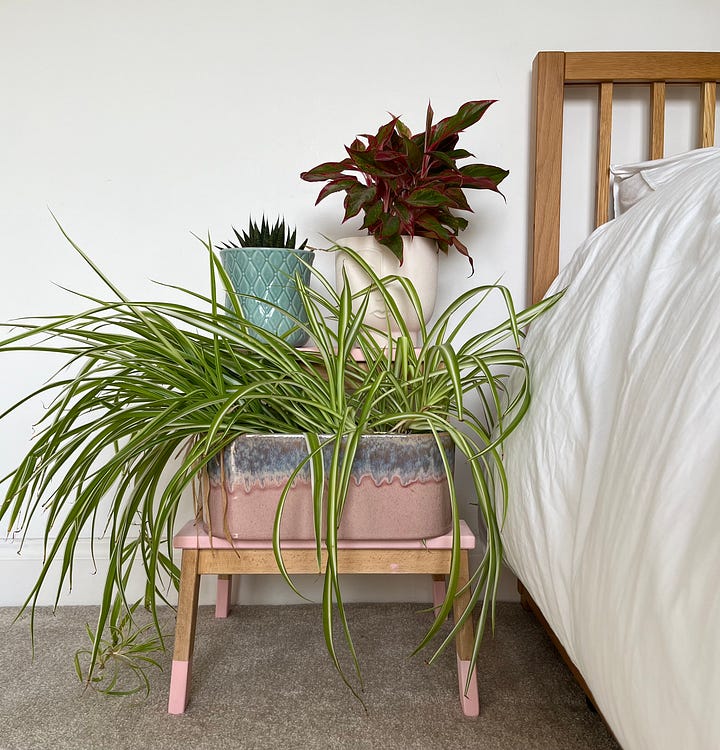
Thankfully, on this one occasion, I was more than happy for our neighbours to ‘fly tip’ because they were throwing out an Ikea Tenhult wooden stool, which costs £25 brand new. Now it wasn’t in the best condition. It had black stains on it, where I assume it had been used in a damp space such as a bathroom or kitchen. However, with a bit of care and attention I knew that it could be upcycled and transformed into a stylish plant stool in my eldest daughter’s bedroom.
Want to know how I did it? Keep reading for my step-by-step instructions on how to upcycle an Ikea Tenhult stool.
WHAT YOU NEED:
* Wood paint
* Electric sander
* Sanding paper
* Paint brushes
* Wipe-clean mat
* Ruler & pencil
* Masking tape
MY METHOD
1. Prepare your work area by moving anything you don’t want to get splattered in paint out of the way and then lay down a mat to work on that you don’t mind getting dirty or is easy to wipe clean.
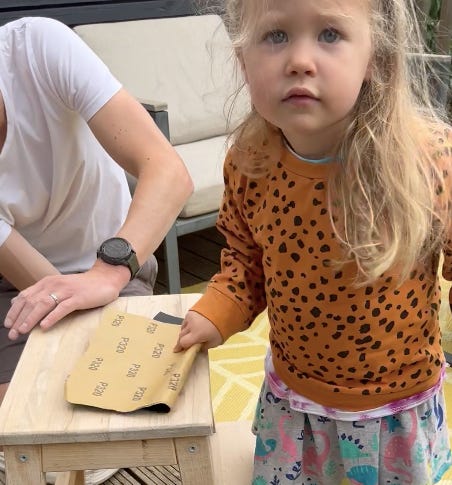
2. Next, sand down your stool. Sand paper is probably sufficient, but speed was of the essence for me with my daughter Lily wanting to ‘help’. So I used an electric sander and then sanded it by hand to get into the tricky corners.

3. Clean down the stool using a damp cloth to get rid of all the dust created from the sanding. Make sure you leave it to dry completely before you apply any paint.
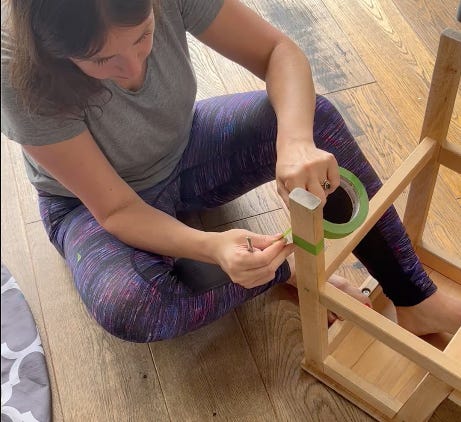
4. Work out a design and use masking tape, a ruler and pencil to mark it out on the piece of furniture. I love Frogtape masking tape and always have one in my DIY cupboard.
5. Now I cheated next. I used B&Q’S furniture flat matt paint in a Sakai Pink hue and I applied it straight onto the stool without using a primer – which the instructions on the tin say you can do. If I was going to use the stool in a high-traffic area (or for the purpose it was intended!), I would definitely apply a good-quality primer such as Zinsser to ensure the paint adheres to the stool better. However, as I’m just planning on using the stool as a plant stand I decided to skip that step! Make sure you stir the paint well before use.
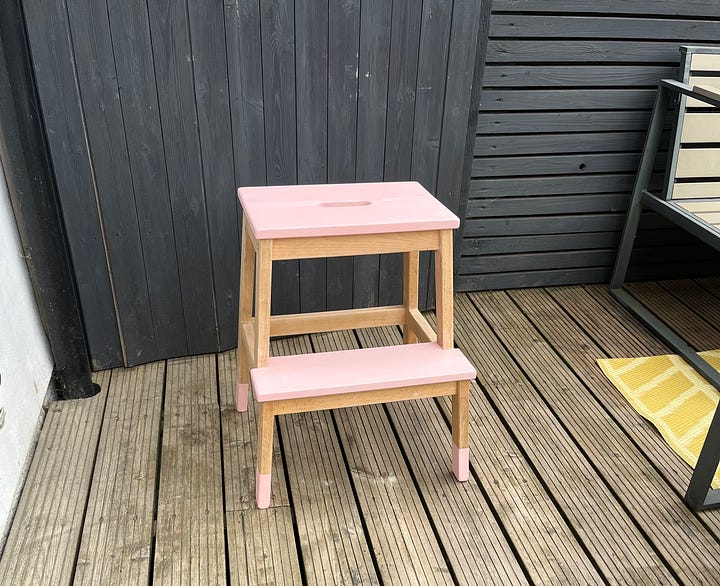
6. Leave to dry the first coat sufficiently and then apply another coat of paint. Check the label on your paint can, which will advise on the recommended drying time.
7. Ta dah – one upcycled stool!

If you’re interested in more upcycling projects, check out the Nest instagram account for co-editor Charlotte’s cool picture frame hack.


