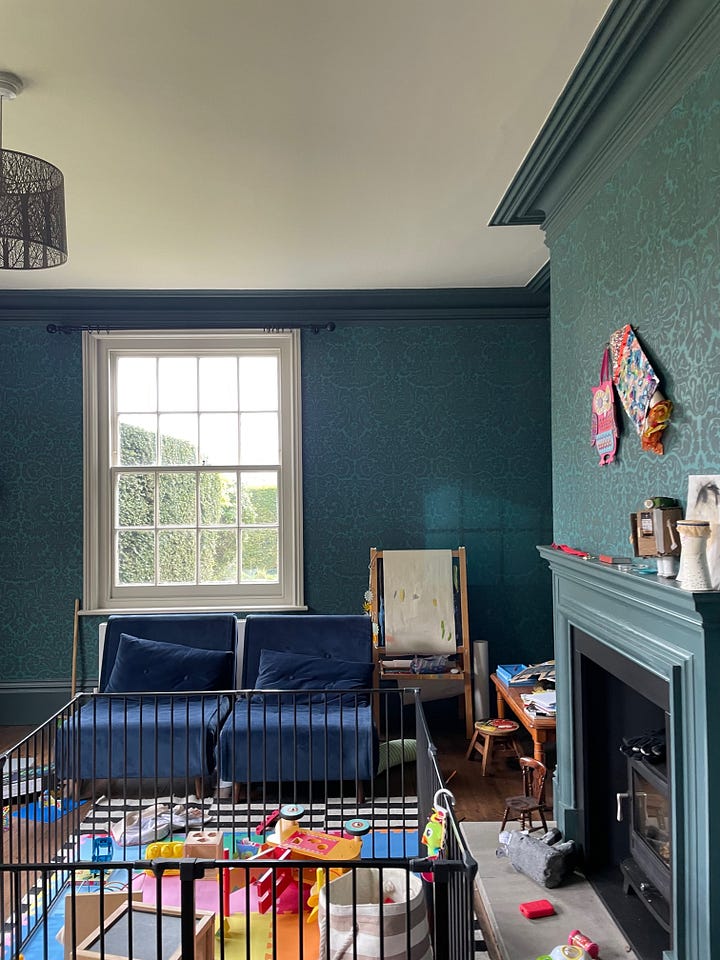
Before & After: From gloomy dining room to vibrant playroom
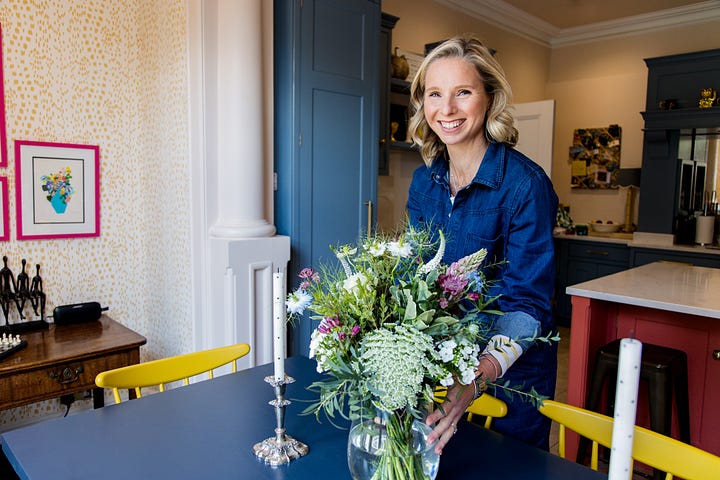
Interior designer Chloe Hannay of Willow & Bert Interiors reveals how she transformed a dark dining room into a colourful and multifunctional playroom for four children aged between 0 and 11 years old
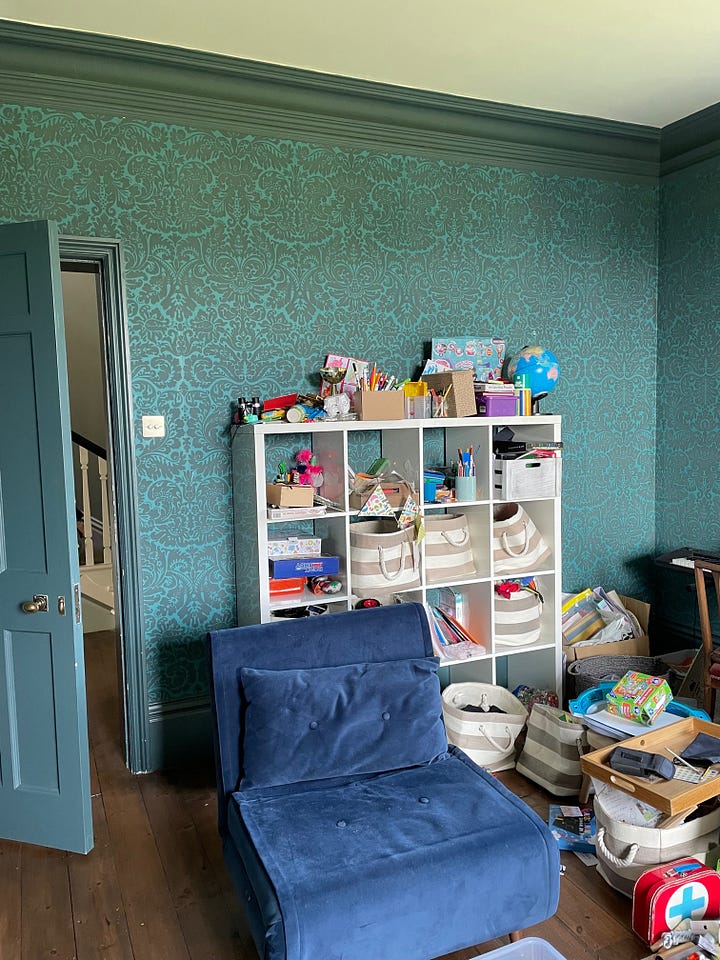
When tasked with the job of creating a child-friendly zone the whole family could escape to from the stresses of daily life, interior designer Chloe Hannay jumped at the chance to take on the challenge. Owners Gillian and Pete commissioned Chloe to transform their dark former dining room into a fun yet cosy playroom with plenty of storage, two desks, space for a playpen and an extra-large squishy sofa. It also had to be completed before Gillian gave birth to the couple’s fourth child. Read on to find out more about the project.
Where did you start?
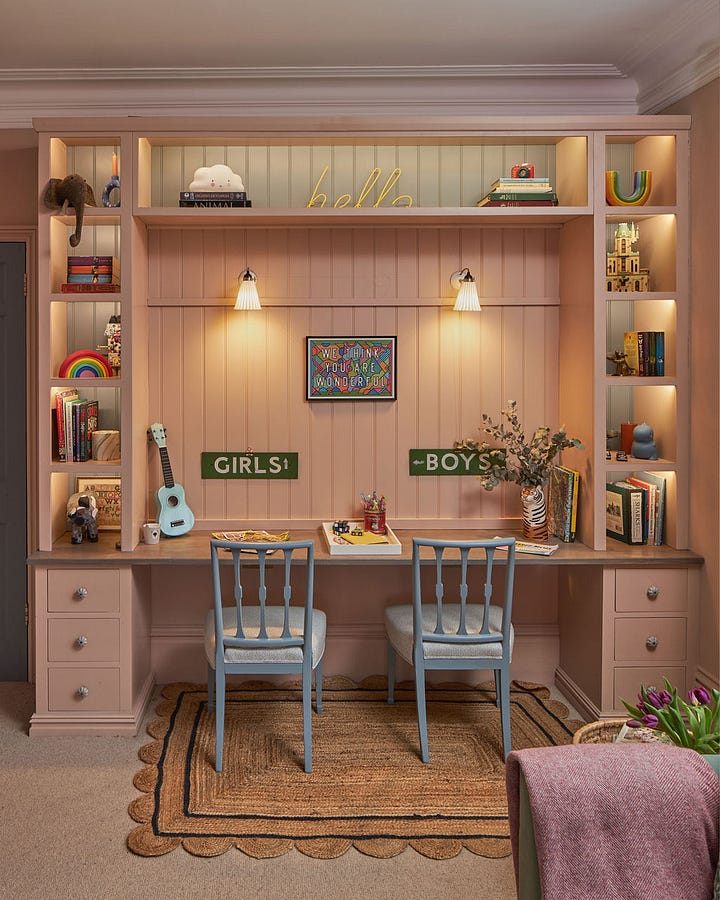
I was keen to give Gillian the big injection of colour, pattern and texture that she wanted, but I knew storage and practicality were key to the new design. So, I assessed everything from each person's perspective. The two eldest children needed desks, somewhere to flop, and high-level storage to keep their treasures safe. In contrast, the younger ones needed low-level toy storage and plenty of comfortable, warm floor space to play.
How did you choose a colour scheme?
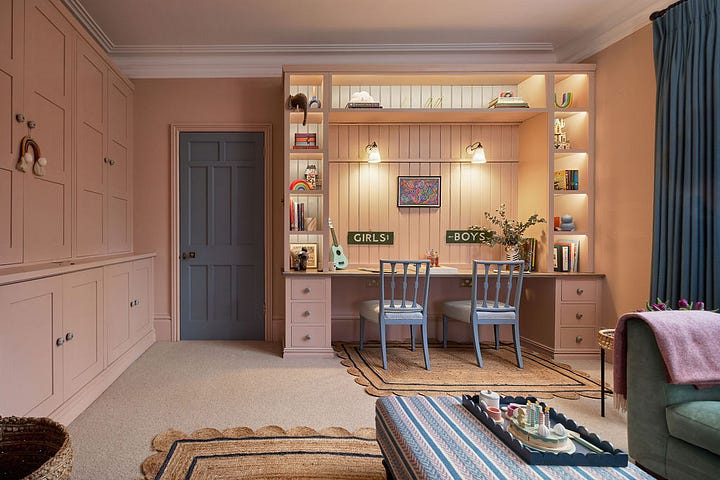
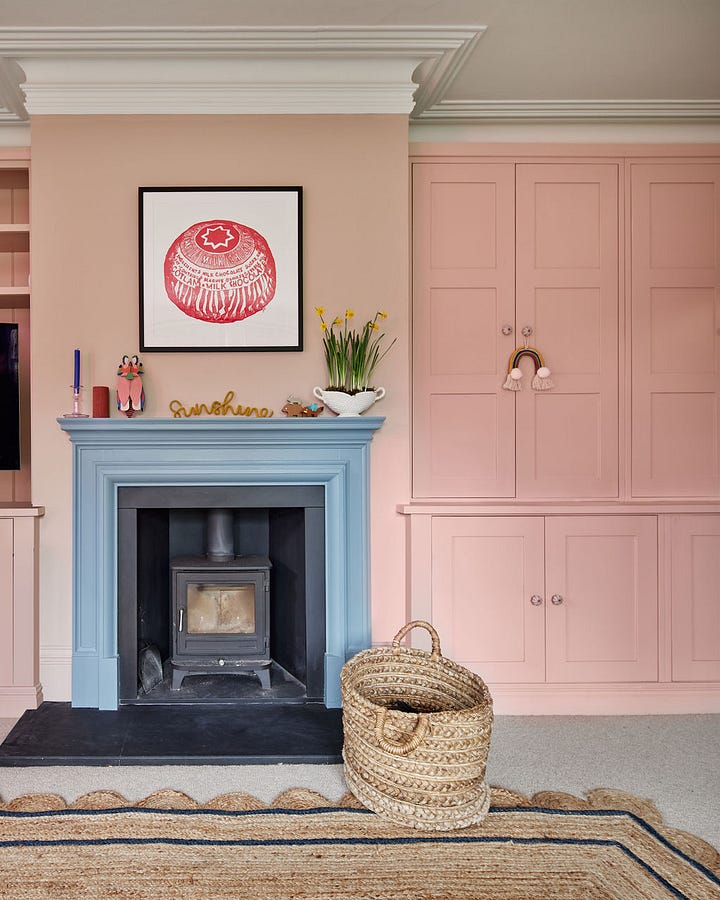
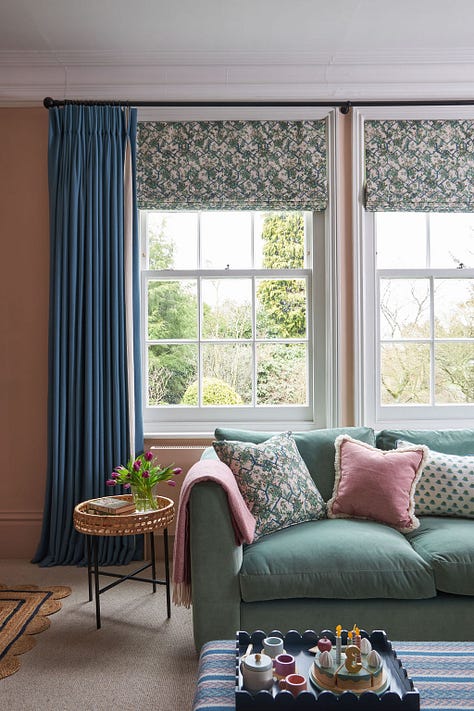
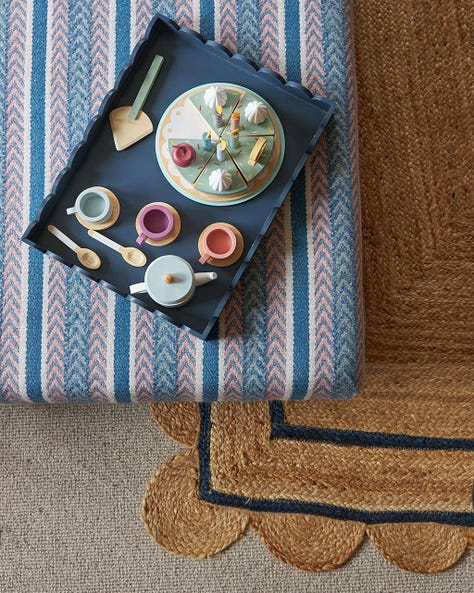
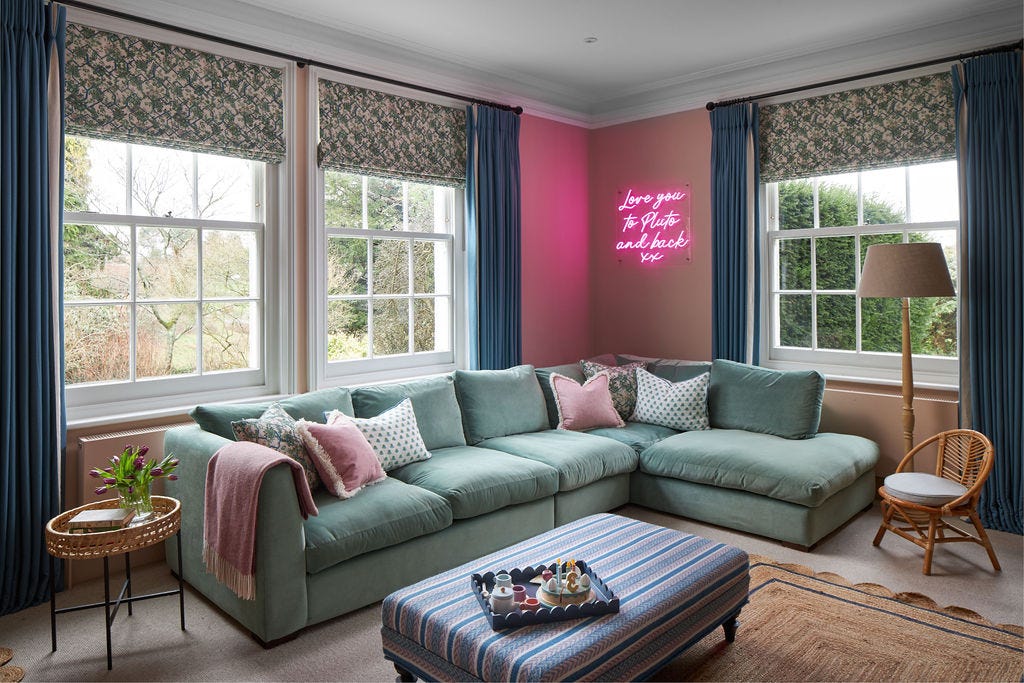
With the practicalities sorted, I moved on to the colour scheme and soft furnishings. Everything fell into place as soon as we found the patterned blind fabric in tones of blue, pink and green. We knew that using either the blue or green for the walls would make the room darker again, so we chose a gorgeous pink shade and then added contrasting bold blue curtains, trimmed cushions, a multifunctional striped footstool and a textured wool carpet to create a cosy, inviting room that could be adapted throughout the day.
One of the most striking features of the playroom is its personality, and Gillian chose many of the finishing touches, such as the Tunnock’s tea cake picture, a nod to her Scottish roots, and the vibrant fluorescent sign bearing the family's favourite phrase.

What was your biggest challenge?
Being patient! With so many bespoke elements, the decoration and design evolved over a period of four months. The whole time, I was worried we wouldn't finish before Gillian gave birth. We managed it by a matter of days!
Did you have to upgrade the room in any way?
The room was already a great size and brimming with period features such as original sash windows, a fireplace, deep skirting and elegant plasterwork, so we didn't have to make any structural changes. It was quite dark, though, so I called in an electrician to install overhead spotlights, wall lights and feature lighting. It's completely changed the feel of the room.

What do you love most about the completed playroom?
Honestly, the thing I love most is when I visit the room looks like a bomb site! It's lived in and being used, which means I've hit the brief, and the whole family love it.

What are your top 3 tips for designing a play space?
1. Be realistic with how much storage you need. We listed everything – all the books and different types of toys – and then decided how we wanted it stored. We then calculated exactly how much of each type of storage we needed and included it in the design. It takes a little time, but it's worth it to give everything a proper home.
2. Save money by shopping your own home. The floor lamp, side table, wicker chair, desk chairs and footstool were already in the house, but we made them part of the new scheme by upcycling them with a lick of paint or a new fabric covering.
3. Choose paint carefully. We chose an Edward Bulmer paint not only because it goes brilliantly with the blind fabric but because it's also plant-based, odourless with a low VOC, eco-friendly & wipeable. Perfect for a family home.
To find out more about Chloe’s work, click here. Plus, see below for shopping ideas on how to recreate the glorious playroom style.



This looks amazing! Thanks so much for publishing my post and showing off Chloe’s work. Rachael