


5 ways you can prepare for a home renovation project
This week, co-editor Sophie shares all the things she's had to tick off of her checklist before she can start her house renovation project!


I’m super excited to be embarking on a house renovation project! But there’s been a lot of tasks that my husband Charlie and I have had to complete before we could take that first step over the renovation starting line. I’m not talking planning permissions and party walls – we’ve sorted all those bits out. I’m talking about the things that nobody warns you about, like how long it will actually take to pack up your house and the importance of notifying all of your neighbours! Whether you’re planning a small update or a major overhaul, I hope you find these practical tips useful!
1. Communicate with your neighbours
We’re in a fortunate position whereby we haven’t had to get a party wall agreement. But we do want to maintain a good relationship with our immediate neighbours. Our project is going to be noisy and our neighbours on one side work from home. So we’ve given them a friendly heads-up by showing them our plans, proposed build schedule and we’ve told them to let us know of any grievances – however big or small – to ensure that there aren’t any major issues. We’ve also posted a letter through the doors of the other homes on our street with our names and mobile numbers so anyone can contact us if they have an issue or question. I think most people will appreciate the courtesy!
2. Prepare your space
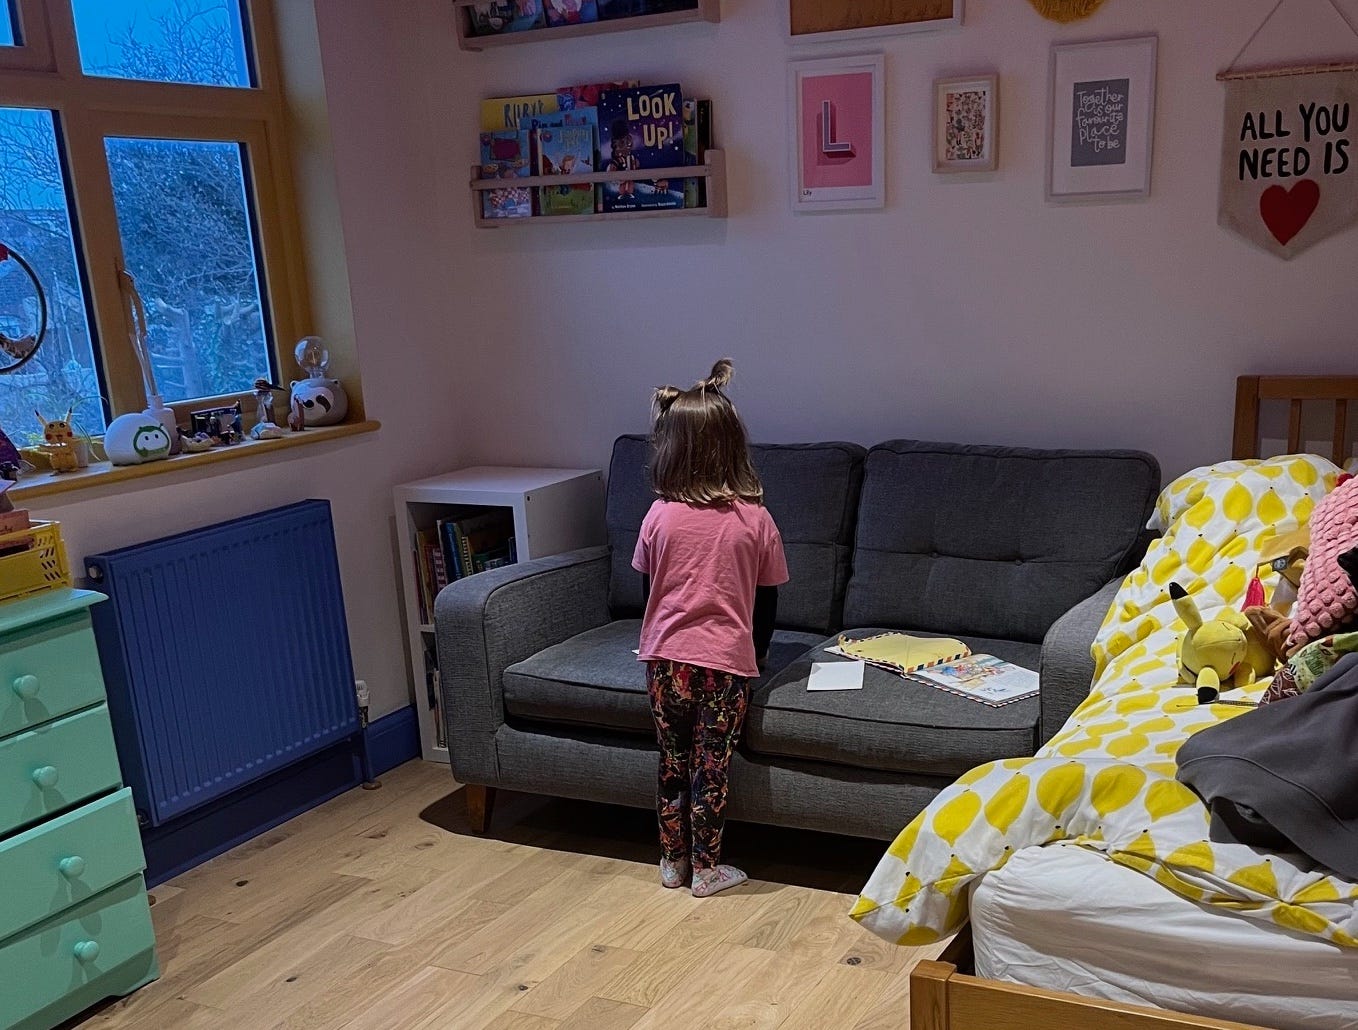
If you follow us on Instagram (if you don’t, why not?), you will have seen my many stories complaining of the endless packing! We’re going to live in our home on the first and second floor while work takes place. It’s fine, we’re fortunate to have a spare room that we’re going to use as a kitchen/living space. But it has meant that we’ve had to move furniture that we want to keep from the ground floor upstairs, where possible. Thankfully Lily loves having a sofa in her bedroom and Ada seems content having the vintage sideboard, all of our house plants and a spare double mattress taking up space in her room! However, to say that we underestimated how much we have is an understatement. We’re currently on our 18th box and still have more to pack this weekend. What hasn’t fitted upstairs has been put in storage, donated to a charity shop, sold on Facebook Marketplace or thrown away at the local refuse centre. Moral of the story? Always plan ahead and expect packing to take longer than expected, which leads nicely onto my next point…
3. Plan ahead
Following on from preparing our space, we had a sofa that has seen better days and wasn’t fit for donating to a charity shop. We considered organising a council collection but realised we had left it too late and there weren’t any available slots before our project start date. We then realised that you can’t just turn up at the local refuse centre in a hired van on any given day. In the end we both had to take a morning off work to hire a van as they are only accepted on a Tuesday or Wednesday between 11am and 1pm at our local refuse centre.
4. Notify your mortgage provider
We knew we had to speak with our current home insurance provider to check they would cover us during the project - which thankfully they will under out current policy – but we had no idea that we had to notify our mortgage provider. After a quick phone call with Halifax, where we discussed what building improvements we would be making, we were advised to send a written letter via Royal Mail detailing all the information we had spoken about with our intended start date.
5. Invest in handy table-top kitchen appliances

The plan is for our builders to move some of the cabinetry from our current kitchen into our spare room to create a makeshift kitchen. They’re hopefully going to plumb in a sink, dishwasher and washing machine – which is going to be a godsend considering the amount of food my youngest daughter Lily seems to spill down her clothing! However, we have had to invest in an air fryer as I’m not sure a slow cooker is going to be sufficient enough for the next 18-20 weeks. With two young children, there are going to be occasions when we need to be able to make a quick and healthy meal! To be honest, I’m not an air fryer convert (yet) and I haven’t invested in one before now due to the amount of work surface/storage space they take up! So I’ll make sure I do a review of the one we’ve bought in a month’s time to let you know whether I think they’re worth the hype (and expense)!
There you have it, hopefully with these practical steps, you’re well on your way to being prepared for a successful home renovation. If you can think of any other top tips that I’ve missed, please do share them in the comments below!
And, if you want to follow my reno journey, please do follow Nest magazine on Instagram, download the Substack app so that you can receive chat notifications, and subscribe here on Substack. I promise to reveal all the highs and lows of our home renovation project with you all ✅.
